A loose trackpad on a Surface Laptop can turn an otherwise sleek, high-performance device into a daily frustration. That subtle wobble, unexpected clicking sound, or inconsistent pointer response is more than annoying—it can affect productivity and signal deeper hardware issues. The good news is that in many cases, a loose trackpad can be diagnosed and even repaired with the right tools, patience, and guidance. Whether you’re a hands-on DIY enthusiast or simply exploring your options, understanding the repair process can save both time and money.
TLDR: A loose Surface Laptop trackpad is often caused by worn adhesive, loose screws, swelling battery pressure, or alignment issues. You can repair it by carefully opening the laptop, inspecting internal components, tightening screws or replacing adhesive, and ensuring the battery is not bulging. Proper tools and gentle handling are critical to avoid damaging delicate parts. If battery swelling or severe hardware damage is found, professional repair is strongly recommended.
Why Surface Laptop Trackpads Become Loose
Surface Laptops are known for their slim and elegant design, but that thin construction leaves little room for internal flexibility. Over time, small structural changes can result in trackpad instability. Before diving into repair steps, it’s important to understand the common causes:
- Worn or degraded adhesive holding the trackpad assembly in place.
- Loose mounting screws due to vibration or repeated use.
- Battery swelling pressing upward against the trackpad.
- Warped palm rest frame caused by heat exposure or physical stress.
- Impact damage from drops or pressure to the chassis.
Identifying the root cause will determine whether your repair is a quick fix or something requiring part replacement.
Tools You’ll Need
Surface devices are not designed for easy disassembly, so preparation is crucial. Gather the following tools before starting:
- Precision Torx screwdriver set
- Plastic pry tools or spudgers
- Heat gun or heat pad (to loosen adhesive)
- Anti-static wrist strap (recommended)
- Replacement adhesive strips (if needed)
- Isopropyl alcohol (for cleaning old adhesive)
Tip: Work on a clean, static-free surface with good lighting.
Step 1: Power Down and Prepare the Device
Before opening your Surface Laptop:
- Shut down the device completely.
- Disconnect the charger and all accessories.
- Hold the power button for 10 seconds to discharge residual electricity.
This reduces the risk of electrical damage during internal access.
Step 2: Remove the Alcantara or Metal Keyboard Deck
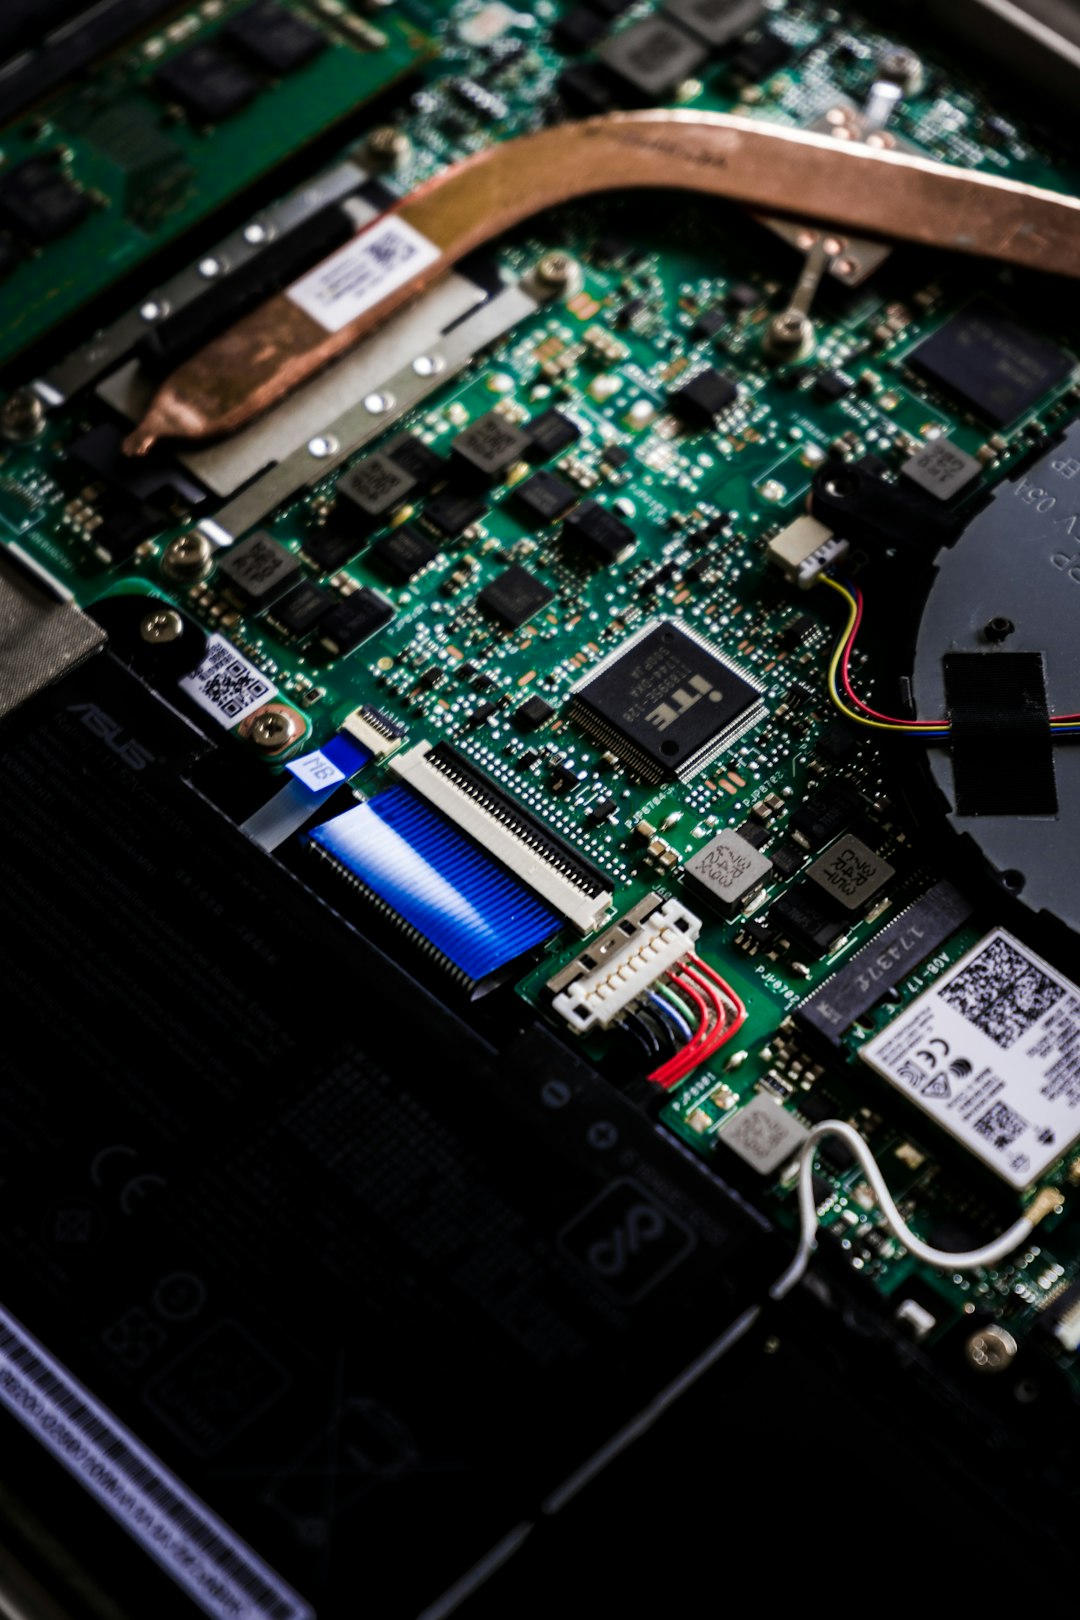
Unlike many laptops with visible screws on the underside, Surface Laptops typically require removal of the top keyboard deck to access internal components. This is often the most delicate step.
Image not found in postmetaImportant: The keyboard deck is usually secured with strong adhesive. Apply gentle heat evenly around the edges to soften the glue. Use a plastic pry tool—not metal—to carefully lift the deck.
Work slowly around the perimeter. Rushing this step may crack the palm rest or damage internal cables connected to the keyboard.
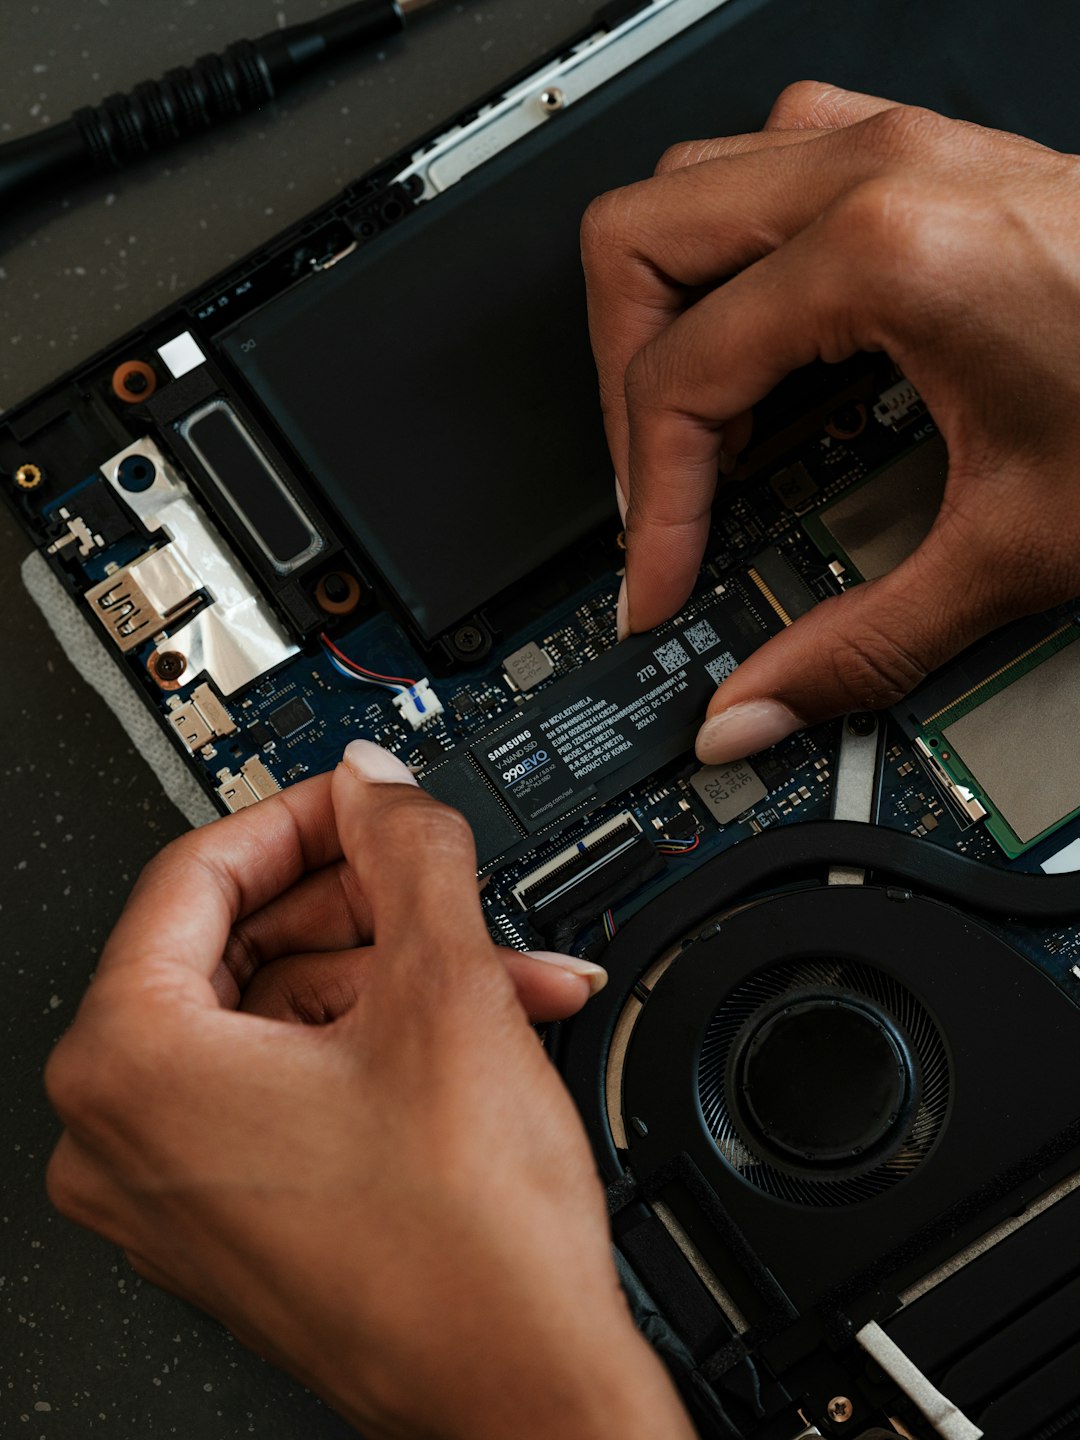
Step 3: Disconnect the Battery
Once inside, always disconnect the battery first. This prevents short circuits and protects internal components.
Locate the battery connector on the motherboard and gently disconnect it using a plastic tool. Never pull directly on wires.
Step 4: Inspect for Battery Swelling
A swollen battery is one of the most common and dangerous causes of a loose or raised trackpad. Lithium-ion batteries can expand over time, pushing upward against the trackpad assembly.
Signs of battery swelling include:
- Trackpad bulging outward
- Keyboard deck lifting unevenly
- Battery cells appearing puffy or misshapen
If you see battery swelling, stop. Do not attempt to press it back into place. Replace the battery immediately or seek professional repair service. A swollen battery can rupture and poses fire risk.
Step 5: Check Trackpad Mounting Screws
If the battery looks normal, examine the trackpad assembly. The trackpad is typically secured by small screws and brackets.
- Check each screw for looseness.
- Carefully tighten any screws that have backed out.
- Do not overtighten, as this may affect click sensitivity.
Sometimes, a minor screw adjustment is all that’s needed to restore proper stability.
Step 6: Inspect and Replace Adhesive
In some Surface Laptop models, adhesive supplements screw mounting. Over time, this adhesive may weaken.
If you notice peeling or degraded adhesive:
- Carefully remove the trackpad assembly.
- Clean old adhesive residue with isopropyl alcohol.
- Apply thin, even strips of high-quality replacement adhesive.
- Reposition the trackpad carefully before pressing firmly into place.
Precision is key here. Misalignment can cause uneven clicking or reduced touch sensitivity.
Step 7: Realign the Trackpad Properly
A slightly misaligned trackpad may click unevenly or wobble at one corner. When reinstalling:
- Ensure the trackpad sits flush with the palm rest.
- Test movement gently before final tightening.
- Check for symmetrical gaps around edges.
Alignment impacts both tactile feedback and pointer accuracy, so take your time adjusting its position.
Step 8: Reassemble and Test
After repairs:
- Reconnect the battery.
- Temporarily reconnect the keyboard cable.
- Power on the device before sealing it completely.
Test for:
- Smooth cursor movement
- Consistent left and right clicking
- No rattling or hollow sounds
- Even physical feel across surface
If everything functions correctly, reapply adhesive to the keyboard deck and carefully reseal the laptop.
When to Replace the Trackpad Entirely
Not all loose trackpads can be saved. Consider full replacement if you notice:
- Cracked glass surface
- Unresponsive touch zones
- Intermittent clicking despite secure mounting
- Electrical connection damage
Trackpad replacement requires transferring cables and precise mounting, but the process is similar to resecuring the original component. Make sure to source compatible parts specific to your Surface Laptop model.
Common Mistakes to Avoid
DIY repairs are rewarding—but only if done correctly. Avoid these frequent pitfalls:
- Using metal tools that scratch or short components.
- Overheating the chassis while loosening adhesive.
- Forgetting to disconnect the battery.
- Mixing up screw sizes during reassembly.
- Ignoring battery swelling.
Patience matters more than strength. Most Surface components are thin and precision-fitted. Gentle, deliberate movements prevent costly damage.
Is Professional Repair Worth It?
Surface devices are known for being less repair-friendly than traditional laptops. If your device is under warranty, opening it may void coverage. In such cases, contacting Microsoft support or a certified repair center may be the smarter choice.
Professional repair is especially recommended when:
- The battery is swollen.
- You lack proper tools.
- The trackpad cable connector is damaged.
- The palm rest frame is warped.
While DIY repair can cost significantly less, professional technicians bring experience that reduces risk.
Preventing Future Trackpad Looseness
Once repaired, keeping your Surface Laptop stable requires some preventive care:
- Avoid placing heavy pressure on the palm rest area.
- Do not expose the laptop to extreme heat.
- Use a protective sleeve during transport.
- Periodically check for chassis warping.
Battery health is also critical. Keeping the battery between 20% and 80% charge and avoiding constant high heat can extend lifespan and reduce swelling risk.
Final Thoughts
A loose Surface Laptop trackpad may seem like a small annoyance, but it can disrupt daily use and signal underlying issues. Fortunately, with careful inspection and methodical repair, many cases can be resolved at home. The key lies in identifying whether the issue stems from adhesive failure, loose hardware, alignment problems, or more serious causes like battery swelling.
By approaching the repair systematically—powering down safely, opening the device carefully, inspecting components thoroughly, and reassembling with precision—you can restore your laptop’s premium feel and functionality. And if the repair turns out to be more complex than expected, knowing when to seek professional help ensures your device remains safe and reliable for years to come.
I’m Sophia, a front-end developer with a passion for JavaScript frameworks. I enjoy sharing tips and tricks for modern web development.
