Having Google Analytics on your website has become a necessity. If you are running a blog, an online store, or have a website where you are selling your products and services, you need to have a way to see who your customers are, analyze them, and segment them into different market groups.
The easiest way to know who your customers are is through different statistics provided by Google Analytics which you can look at and analyze. And the best part about it is, that Google Analytics is completely free to use.
What is Google Analytics?
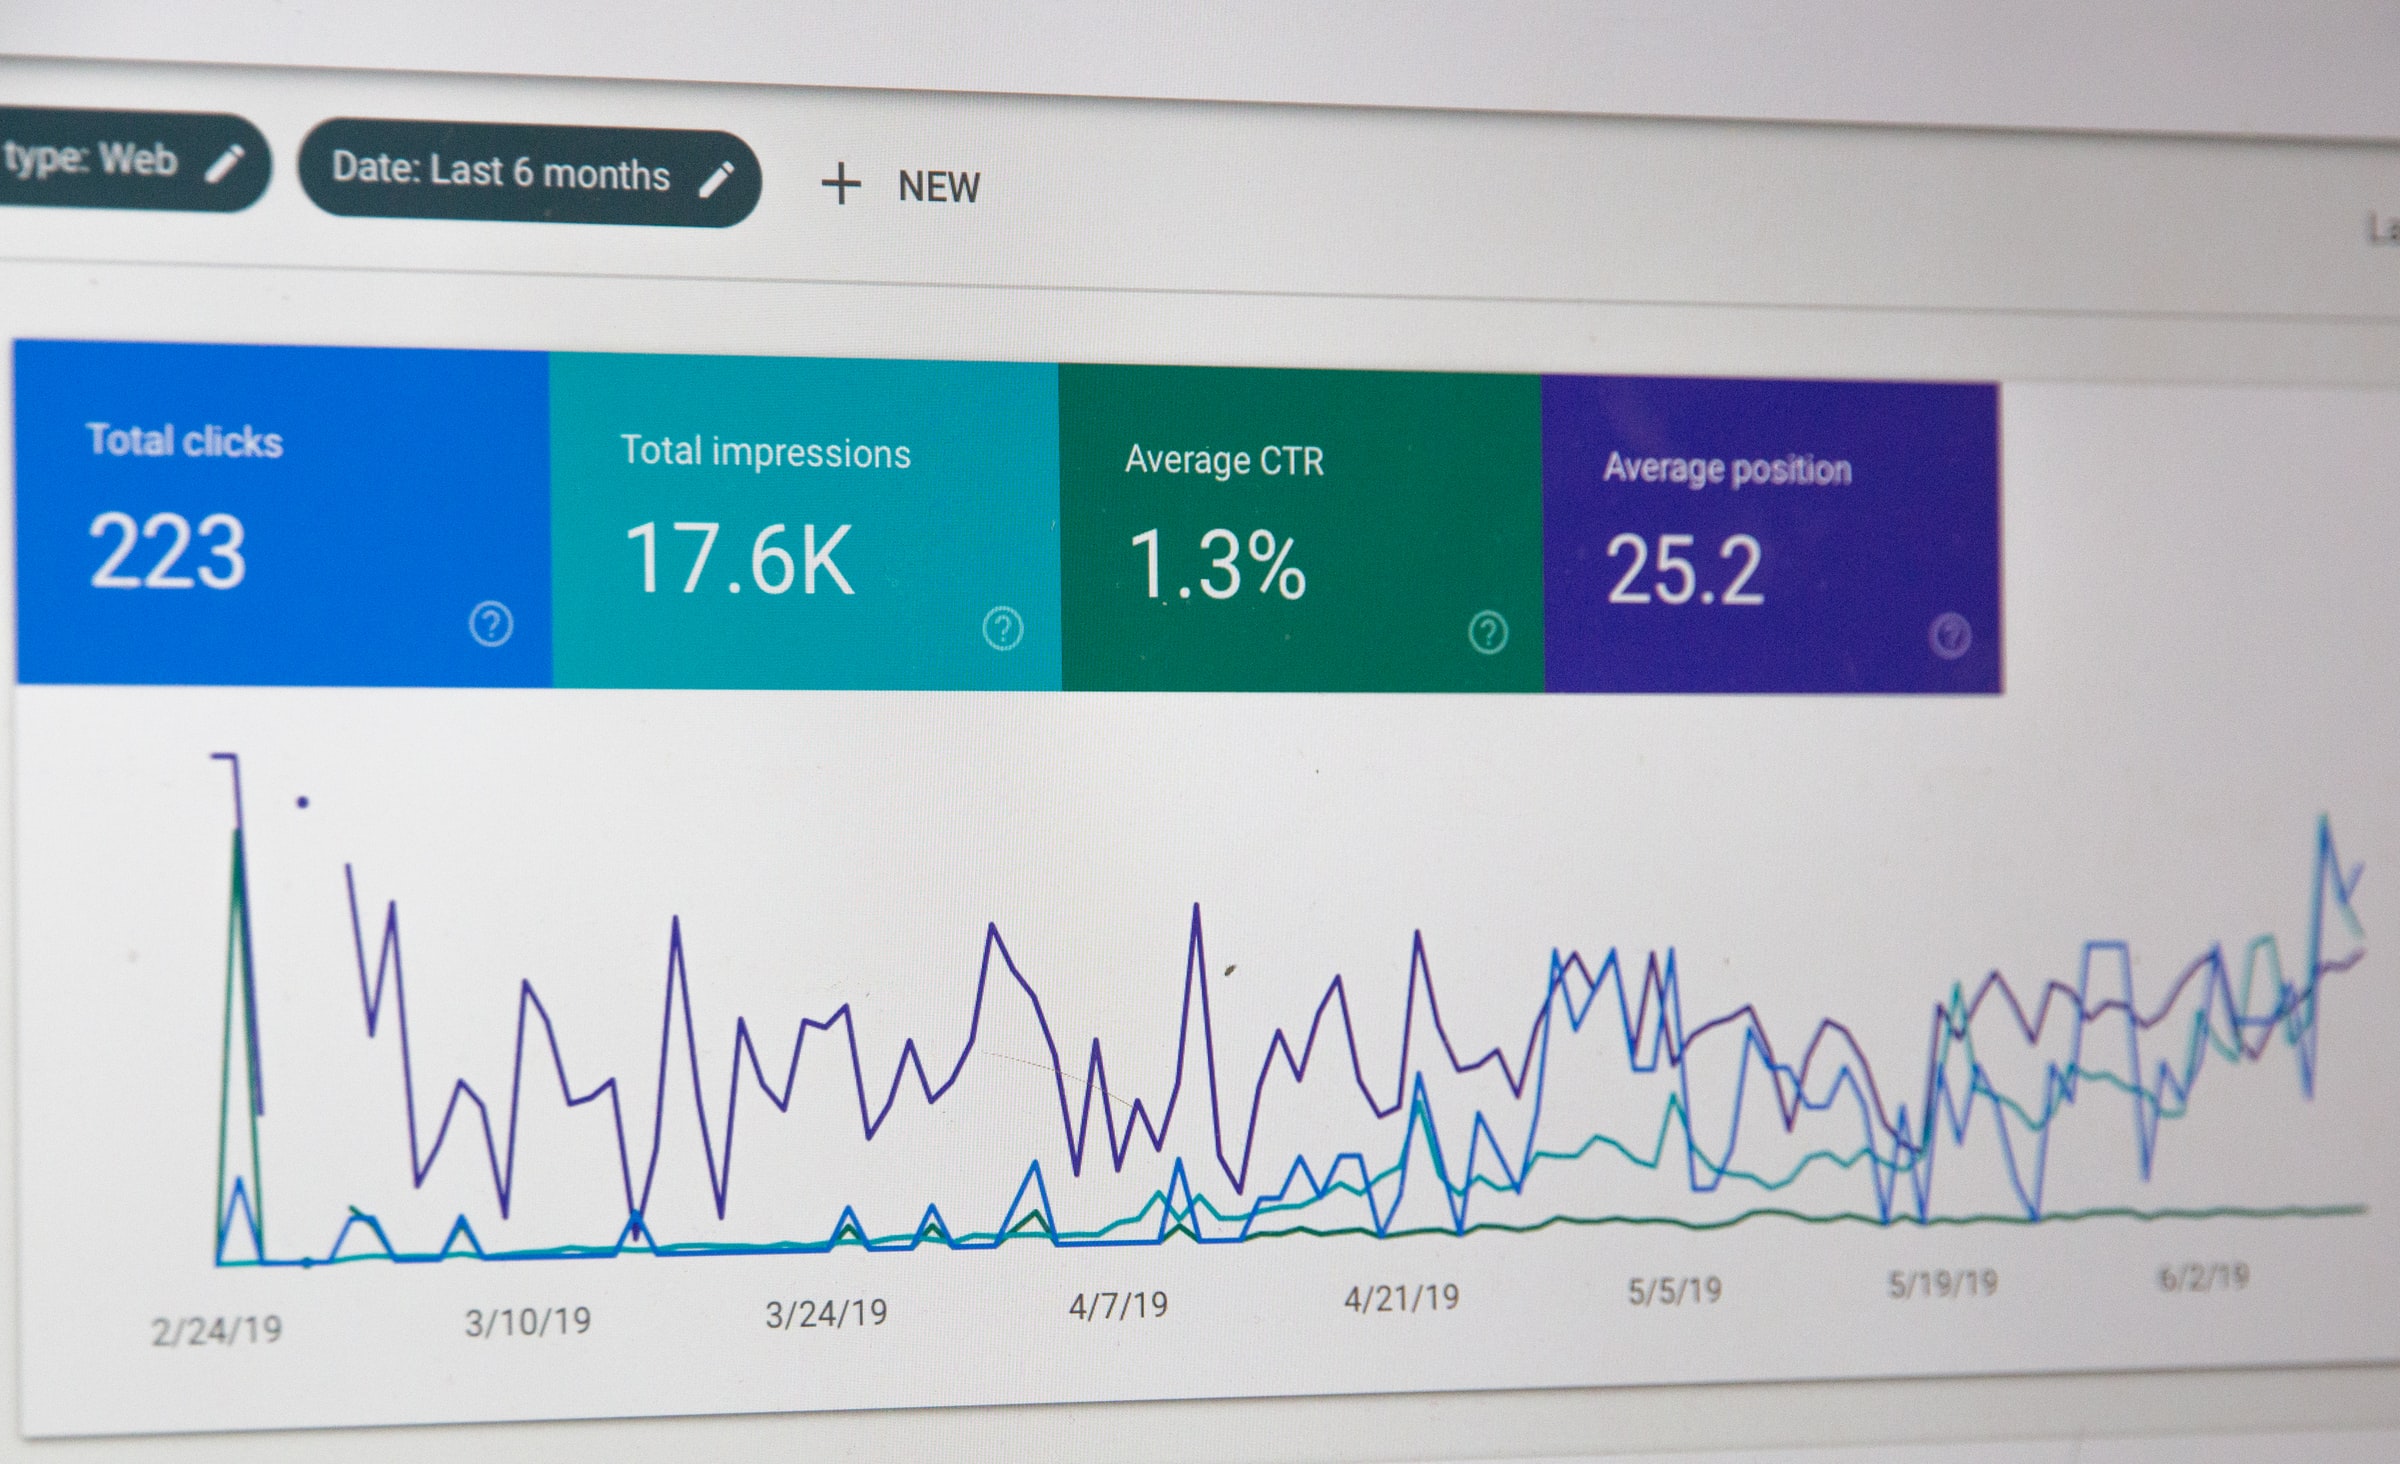
Google Analytics is a service that Google provides. Using it, you can see who visits your site, from what location, at what time, what web browser they used (Google or Bing), if they were on their phone or PC, or if they came from a social media site (Facebook or Instagram). By knowing from what sites most of your customers come from, you can easily improve your advertising efforts.
You can also see how long they stay on your website, what pages they visit, if they put a product in their shopping cart, etc. On top of that, with Google Analytics, you can find out what kind of ads work best with your audience by using A/B testing features that Google Analytics offers. Knowing this information helps you create more interesting and relevant content for your customers, as well as increase traffic rates (hopefully organic rates) and decrease bounce rate.
How to Sign Up?
This service is free to use and all you need is a Gmail account to sign up. Once you do, follow the instructions that tell you how to set up your account by choosing a name, deciding between tracking a mobile app or a website, and entering the website’s name, URL, country, and time zone.
After all that, you are given a tracking code which you can then copy and paste on your site to enable tracking.
How to Get Your Tracking Code?
![]()
After you have logged into your Google Analytics account, click on Admin on the left side of the dashboard. In the Property column, click Tracking Info, then Tracking Code. And there it will be!
How to Install Google Analytics on a Website?
There are different ways you can use to add Google Analytics to your site. Some methods include plugins, others rely on a bit of your coding knowledge to enable this service on your site. In any case, what you are doing is basically adding a snippet of JavaScript code to your site that lets Google track your visitors.
Below, we have listed 6 ways of how to install Google Analytics on your site and whichever method you choose, make sure you follow the instructions properly as you don’t want to have any issues later when your site is up and running.
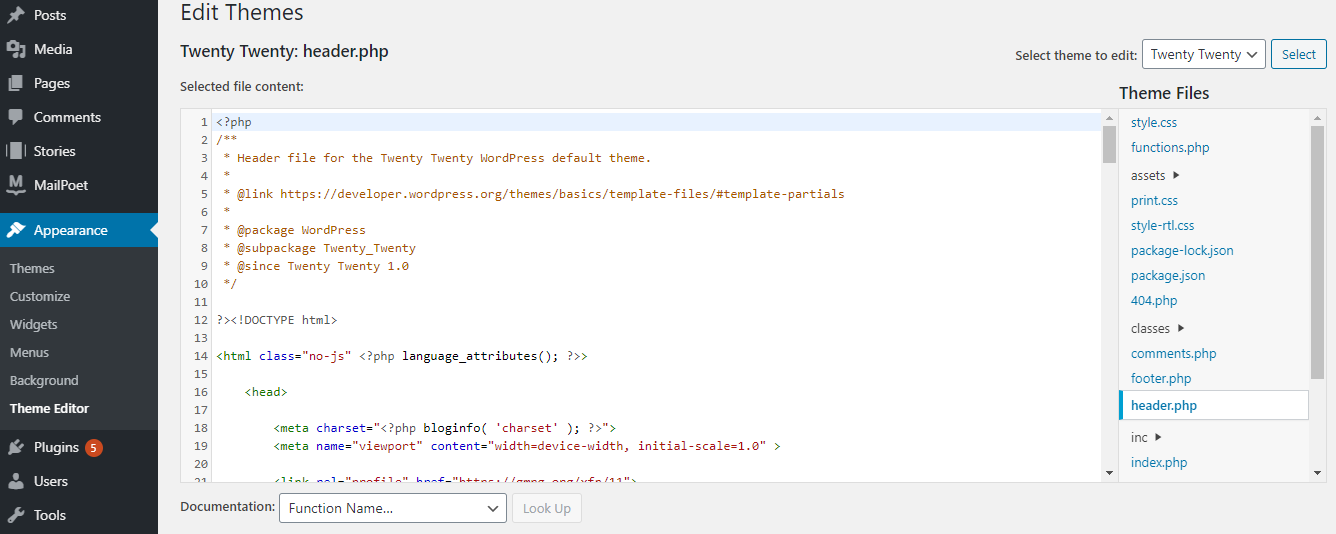
1. Insert the Code Into the Header
In this method, you insert the code into your header, so it is present on every page. In WordPress, this is pretty easy as most themes have a header.php file. This is where you add the code.
First, make sure the code is in <script> brackets. Then, go to your dashboard, click on Appearance, Theme Editor, and finally on the header.php file and paste the code there.
However, you need to be careful while doing this, because you could lose the tracking code and Google Analytics will no longer work on your site. For that reason, you should make changes in the child theme (this lets you change small parts of your site, but keep the theme’s look and functionality).
2. Use a Custom Plugin
In this method, you need to create your own plugin. Don’t worry, it is pretty simple.
Before you start, make sure your theme has wp_head inside the header.php file. This should be implemented by default, but it doesn’t hurt to check.
Next, you need to create a PHP file, add the code, save it, and upload it to the plugins folder (wp-content -> plugins). Finally, activate it as any other plugin.
3. Add a Website From Google Analytics
You can also add a website directly from the Google Analytics dashboard.
To do so, log into your account and click on Access Google Analytics in the top right. Then click on Admin.
Now, go to Account and select under which account you want to add a new website.
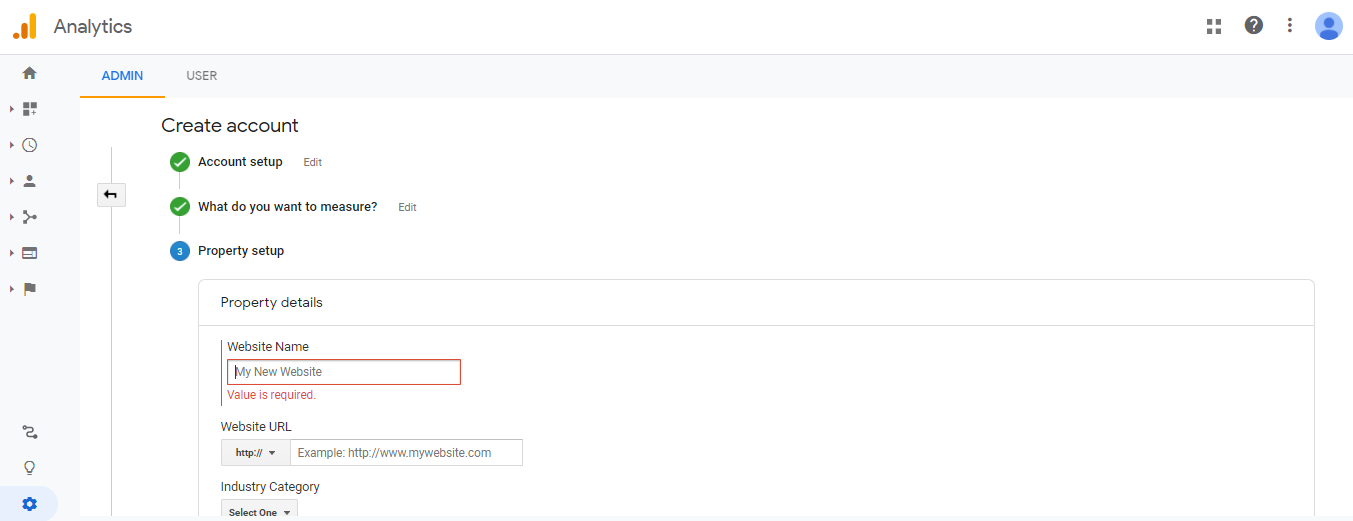
In the Property column, click on the drop-down and create a new property. Fill in your website details and click Get Tracking ID.
4. Google Tag Manager
Google Tag Manager also lets you add the tracking code to your website.
To make that happen, you need to create an account and sign in. Then, under Setup Container -> Container Name enter your website’s name, choose web as the target platform and click Create.
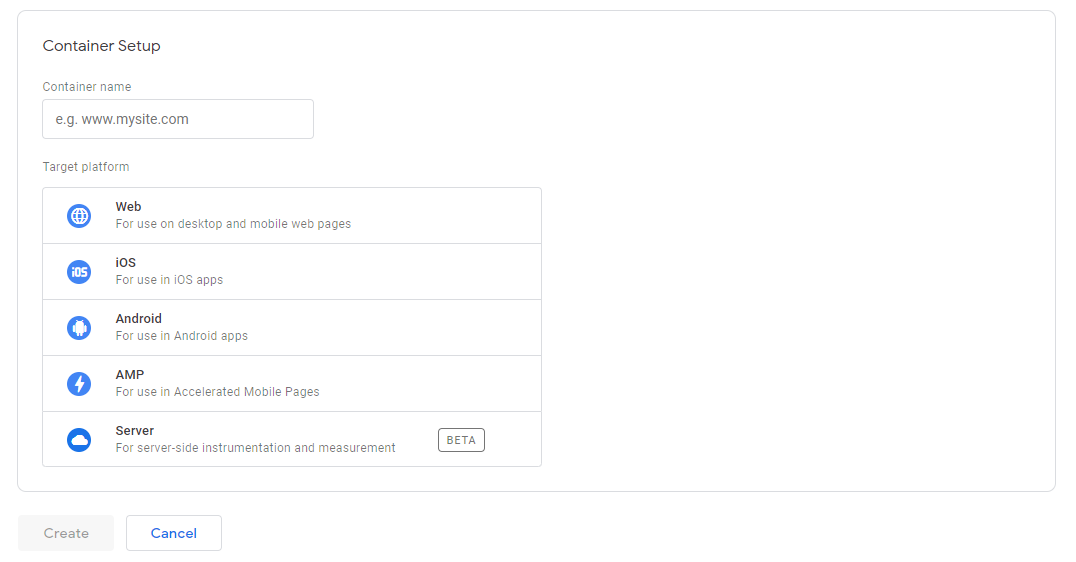
Now you will be given a tracking code snippet. Copy it and click on New Tag.
Next, click on the icon that says choose a tag type to begin setup. Click Universal Analytics, enter your ID and tracking type (e.g. pageview), choose a trigger that will make this tag fire, select All Pages and that is it!
Now you have a working Google Tag Manager that is analyzing your visitors as part of Google Analytics.
5. Use a Plugin
For this method, you need to go to the WordPress plugin repository and type in the name of the plugin you wish to download. Click Install Now and activate it.
Below, we have listed a few plugins we think could be useful to install.
Google Analytics Dashboard for WP
Many users love Google Analytics Dashboard for WP because, with it, you can see your stats right in your WordPress dashboard. You can track your visitors, set up eCommerce tracking for WooCommerce, see how long customers stay on your site and what they are doing.
The plugin is compliant with GDPR and gives you access to different reports (overview, e-commerce, real-time, and more). Plus, it is integrated with WooCommerce, Yoast, Google Analytics, Google AdSense, and other features.
It comes in several pricing plans, the cheapest one being $99.50/year which is best used by small businesses.
Google Analytics Dashboard Plugin for WordPress
Google Analytics Dashboard Plugin for WordPress is another Google Analytics plugin that lets you see your analytics inside your WordPress account. You can also add WooCommerce tracking and see your sales reports, revenue reports, and transaction reports.
It comes in a free version, but if you want extra features you need to pay $39.
GAinWP Google Analytics Integration for WordPress

The GAinWP Google Analytics Integration for WordPress plugin lets you track your analytics reports in your WordPress dashboard. You can see in-depth reports about each page and post. You can also see real-time reports about things like the number of visitors, acquisition channels, and traffic sources.
The reports include data such as organic searches, bounce rates, page views, location, keywords, social networks, browsers, ad device categories, etc. So essentially, this plugin comes with a vast array of reports designed to help you analyze your audience better.
This plugin is also integrated with Universal Google Analytics, Global Site Tag, eCommerce, and other features that include remarketing, page speed, and link attribution.
Enhanced Ecommerce Google Analytics Plugin for WooCommerce

Enhanced Ecommerce Google Analytics Plugin for WooCommerce is a plugin designed specifically for those of you running an online store. And to use it, no coding is required.
With this plugin, you can track your users’ journeys from the home page, to the product page, the cart, and finally the checkout. You can see how your products are performing and see which products you should keep or increase their inventory. You can also see who abandons their cart.
And of course, you will have info on where your customers are coming from, their age and gender, their behavior, and conversion rates.
Conclusion
We hope that this article helped you learn how to install Google Analytics and see why you even need this service in the first place.
As we told you, there are several methods you can follow to install Google Analytics, but for each one, make sure you follow the instruction carefully, otherwise, your site might not work properly.