A WordPress site can be managed by more than one person. For you, as the website owner, this means that you can have multiple authors, editors, and administrators so you don’t have to manage everything yourself. This also helps you keep your login and password information safe as you don’t have to give it to others who manage the site since they can log in from their own accounts.

Here are some examples of the user roles you can add to your WordPress site:
- Administrator– can do and access everything on the site
- Editor– has access to posts, comments, tags, and categories
- Author– can add, publish, write, and edit their own posts
- Contributor– can add and edit their own posts, but cannot publish them
- Follower/viewer– can read and comment on posts
What each user is capable of depends on you, the website owner, and the administrator.
Along with the manual way of adding users to your site, which we will demonstrate in the next section of this article, you can also add users by sending invitations. The only thing you will need is their name and email address.
Add Authors Manually
Let’s say you are running a blog on your website. It is really hard and time-consuming to write posts, edit them, brainstorm new ideas, keep up with your clients, check your website for any technical issues, and do everything else that comes with running a blog all by yourself. Luckily, there is a way you can make your job a bit easier.
For one, you can add multiple authors to your site. That makes the whole process a bit easier for you because you can focus on other things and let your authors handle coming up with ideas for your blog, and also the writing and editing process.

Adding new authors to a WordPress site is really simple. You can either open your site up for user registration, or you can manually add users.
The first method lets anyone register and create an account which is not really the safest way of doing this nor the easiest way. It is useful if you want a lot of people to register, but be careful, since you can lose control of who is on your site and what they can do.
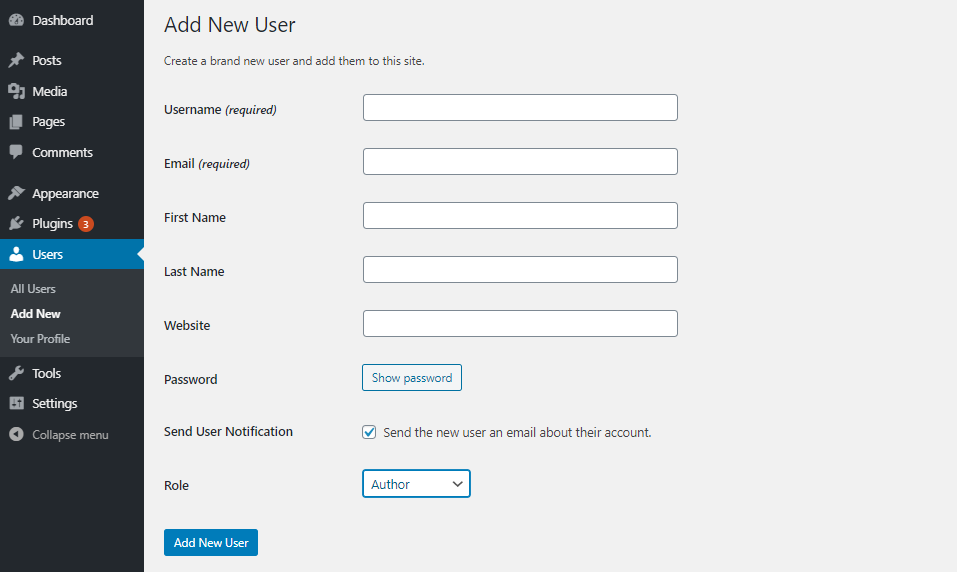
The second method is good if you are adding only a few new users. To make it happen, you need to provide a username for the person you want to add (make it simple so it is easy to remember). Then, enter their email address.
You can also enter their name and website information if you want. But this is optional and you can add it later in the user field.
Next, choose a good and strong password and send it to the user via email so they can log in. Lastly, choose a user role for the user.
As we have mentioned earlier, each user role has different capabilities. If you make someone an author, that means they will be able to edit, write, and publish posts on your site.
After you have completed all the steps of adding a new user/author, you can then add and design author biographies and author boxes for each of your blog posts. You can also display a list of your authors so visitors can see who is writing your posts and decide if the authors are in fact credible to be writing about specific topics.
It is important to note that you can also delete users anytime you want, change their information, or change their user roles.
But why all this hassle of having multiple authors? A multi-author blog enables you to better keep up with the newest developments in your industry or market, but also to make interesting and engaging content that your users will enjoy and share.
On top of that, having good blog posts helps you decrease your bounce rate and increase conversions since your readers will see you as a reliable and credible source of information.
Use a Plugin
Luckily for you, this whole process can be even easier. You can do all of this with a plugin.
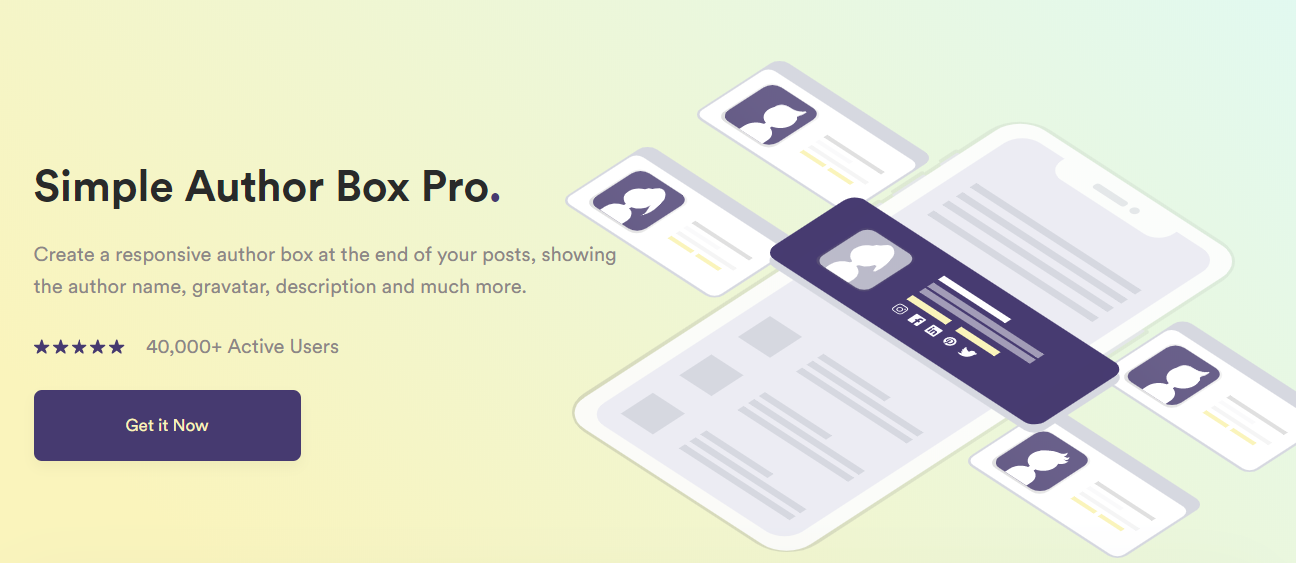
We recommend using Simple Author Box, a free WordPress plugin, which besides being free is popular, frequently-updated, has more than 40,000 active installations, and a 4.5-star rating.
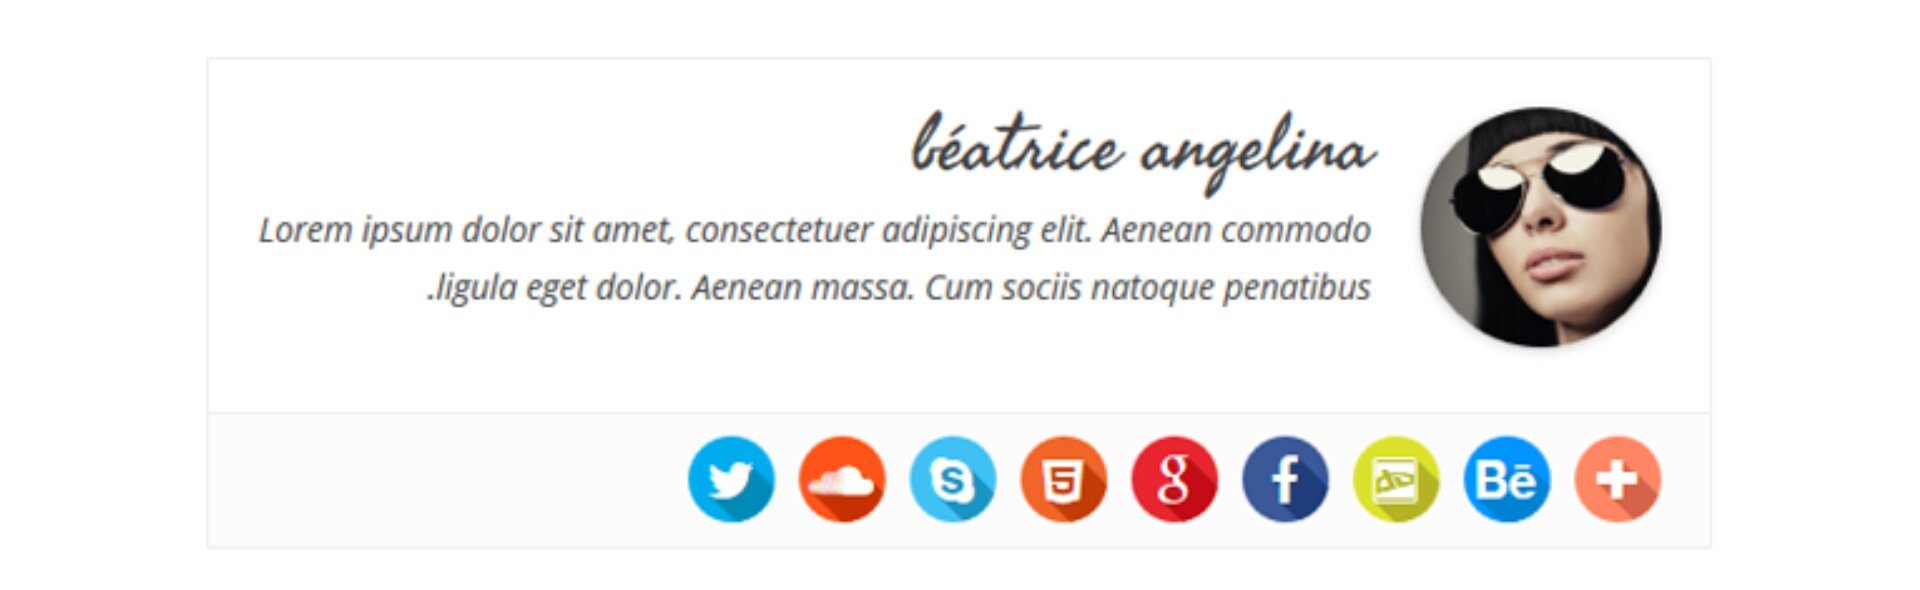
This plugin adds responsive author boxes to your site and posts that show the author’s name, gravatar picture, and a short bio you can edit. Using this plugin, you can also add social media links to the author box so readers can click on them and get to know the author on other platforms besides your site.
The author boxes this plugin will create are fully customizable, meaning you can change the style, color, fonts, and size to make them look like a part of your theme and design. Plus, the author boxes will look great on PCs, laptops, mobile phones, and tablets.
There is also a premium version of this plugin, that comes with even more features.
Using the premium version, you can add and assign guest authors to your posts, add multiple authors to your posts, use any font and font size you want, and have access to great customer support.
Basically, the pro version is the version you want to use if you have several authors. Because besides allowing you to add guest authors and have multiple authors credited on a single post, it also saves you time.
How? Well, the plugin helps you automatically publish an author box with the author’s information, so you do not need to think about it or look for the proper information for each author.
Conclusion
As you can see, adding authors is a pretty simple process, just like the whole process of assigning user roles. But you can always use some assistance from a tool like the Simple Author Box plugin.
Using this plugin, you can assign guest authors, multiple authors, and add their name, picture, and information to a beautiful author box. Basically, the Simple Author Box plugin will help you save time so you can focus on other parts of your business.
Lastly, we want to remind you, that even with having multiple authors on your blog, you are still the administrator and have the ability to control, add, edit, or delete users/authors if needed.