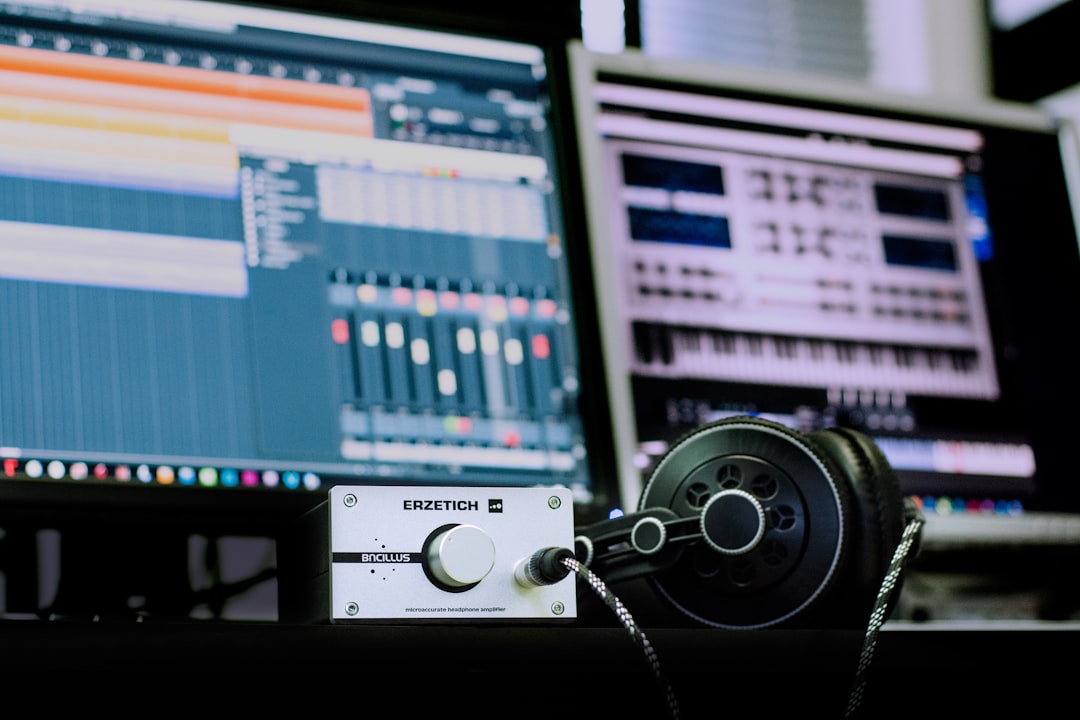
SoundFont (SF2) files are indispensable tools for music producers, composers, and digital audio enthusiasts. These files provide a way to store sampled audio in an organized structure, assign it to MIDI instruments, and play it back via compatible software and hardware. For those who collect and use custom sound libraries online, it’s common to encounter ZIP files containing multiple WAV samples, instrument definitions, or even pre-configured SoundFont content. Converting these ZIPs into functioning SF2 files requires a clear understanding of the tools and steps involved. In this guide, we will walk through everything you need to know to create reliable SF2 files from ZIP archives, ensuring optimal sound compatibility and creative flexibility.
The Basics: What Are SF2 Files?
SF2, or SoundFont 2, is a format developed by E-mu Systems and Creative Labs for storing instrument sound banks. These are often used with MIDI sequencers or digital audio workstations (DAWs). The SF2 file contains sample data (typically in WAV format), mapping details for different keys and velocities, looping parameters, and more. When played through a compatible engine, the SF2 acts like a virtual instrument, making your sampled sounds playable across the keyboard.
For producers working with limited resources or aiming for period-authentic sounds, SoundFonts offer a lightweight and efficient solution. Creating them from ZIP files is often required when downloading third-party instrument sets or sampled recordings found in community or commercial repositories.
Understanding the ZIP Contents
Before attempting conversion, it’s crucial to examine the ZIP archives you intend to turn into SF2 files. They may contain a variety of elements:
- WAV files – These are the raw audio samples of individual notes or sound articulations.
- TXT or INI files – These often describe note ranges, root keys, loop points, or instrument mapping.
- MIDI files – Sometimes included as demos or templates, not needed for SF2 creation but useful for sound tests.
- Pre-made .sfz or .sf2 files – If included, these might simplify your work or can serve as reference structures.
Understanding the layout and quality of these files will inform how you map and assemble them into a coherent SoundFont file.
Required Tools
To begin, you’ll need suitable software that can import samples, map them over a keyboard range, and export to SF2 format. Below are trusted tools commonly used for this task:
- Polyphone SoundFont Editor – A free, cross-platform tool dedicated to creating and editing SF2 and SFZ files. Highly recommended for its user-friendly UI and comprehensive feature set.
- Vienna SoundFont Studio – Developed by Creative Labs, this software is tied to older Sound Blaster cards but still viable where compatible.
- Awave Studio – A commercial, Windows-only program that can import and export a wide variety of audio and instrument formats, including SF2.
- Audacity or another audio editor – Used for preparing or normalizing WAV samples before importing them into your SF2 editor.
Once the ZIP is unpacked and organized, these tools will allow you to build a structured, playable SoundFont efficiently.
Step-by-Step: Creating SF2 from a ZIP File
- Unzip the Archive
Use any standard extraction tool to unpack the ZIP file. Make sure the extracted contents are placed in a clearly labeled folder. Review your WAV files and make note of naming conventions or embedded metadata that could help in mapping. - Edit and Prepare Samples
Open WAV samples in an audio editor like Audacity. Normalize amplitude levels to ensure consistent output volume between keys. Trim or fade any unwanted silence, and if your target genre allows, consider adding simple effects like EQ or compression. Save all edits and backup original files. - Open Your SF2 Editor and Create a Project
Launch Polyphone (recommended) and start a new SoundFont project. You’ll see a hierarchy typically involving three levels: Samples, Instruments, and Presets. - Import Your Samples
Drag your edited WAV files into the “Samples” section. If file names are organized—for example, C3.wav, D3.wav—they will be easier to align with MIDI note mappings later. - Create an Instrument
Move to the “Instruments” tab, create a new instrument, and start assigning sample ranges. Proper mapping allows each sample to respond appropriately based on which MIDI note is played. - Adjust Key Ranges and Looping
Within the instrument editor, assign key ranges to each sample. Overlapping ranges may be necessary to create smoother transitions. Check for built-in loop points in your samples, or set them manually for sustained notes. - Assign the Instrument to a Preset
In the “Preset” tab, link your instrument to a new preset slot. This is what DAWs and MIDI players will see as a selectable sound bank. - Save and Export as SF2
Export the final SoundFont by saving your project. Most software will output a standard-compliant .sf2 file ready for use in digital audio environments.

Best Practices for Professional Results
While the technical process of creating SF2 files isn’t difficult, achieving truly professional results requires attention to detail. Here are some tips for superior output:
- Use High-Quality Samples – Garbage in, garbage out. Converting low-resolution or poorly recorded samples will yield mediocre SoundFonts.
- Layering for Realism – If you have multiple variations for the same note (e.g., soft and hard strikes), layer them using velocity ranges.
- Optimize for Performance – Limit the number of loaded samples where possible. This improves playback performance on lower-end devices.
- Name Everything Clearly – Maintain a consistent and descriptive naming structure for your files, instruments, and presets. It makes future edits significantly easier.
- Documentation – Create a small README or metadata file that explains how your SoundFont was built. This is helpful if you share your work with other producers or developers.
Testing Your SF2 File
Once you’ve exported your SF2 file, it’s critical to test it under real-world conditions. Load it into a virtual instrument slot within a DAW such as FL Studio, Ableton, LMMS, or Logic Pro. Use a MIDI keyboard or sequencer to play different velocities and key ranges. Listen carefully for anomalies such as unnatural loops, volume spikes, gaps in mapping, or tonal inconsistencies.

Make adjustments in your editor as needed and re-export. It might take a few test iterations to reach optimal quality, especially for more complex instrument formats like layered pianos or evolving pads.
Distribution and Compatibility
After the creation and testing phase, you may wish to distribute your custom SoundFont. Fortunately, the SF2 format is widely compatible across tools including:
- DAWs: FL Studio, LMMS, Cakewalk, and others support SF2 natively or via plugins.
- VST Plugins: SFZ players like Sforzando and Kontakt can often import or convert SF2.
- Mobile Apps: Apps like Caustic or Audio Evolution on Android make use of SF2 instruments.
- Embedded Systems and Games: Custom firmware or older audio engines may employ SF2 files to reduce resource use.
Ensure you publish your SoundFonts with proper licensing information, especially if the samples originated from copyrighted works. Consider using Creative Commons licenses where appropriate.
Conclusion
Creating SF2 files from ZIP archives is a practical and rewarding skill for music producers. It enables freedom to craft your own instrument libraries, resurrect forgotten sample packs, or customize sound banks for specific projects. By following the step-by-step process and using the right tools, you’ll be well-equipped to turn any collection of WAV files into a playable, high-quality virtual instrument. As SoundFont technology continues to find relevance in both retro and modern workflows, mastering this process can greatly expand your creative toolkit.
I’m Sophia, a front-end developer with a passion for JavaScript frameworks. I enjoy sharing tips and tricks for modern web development.
