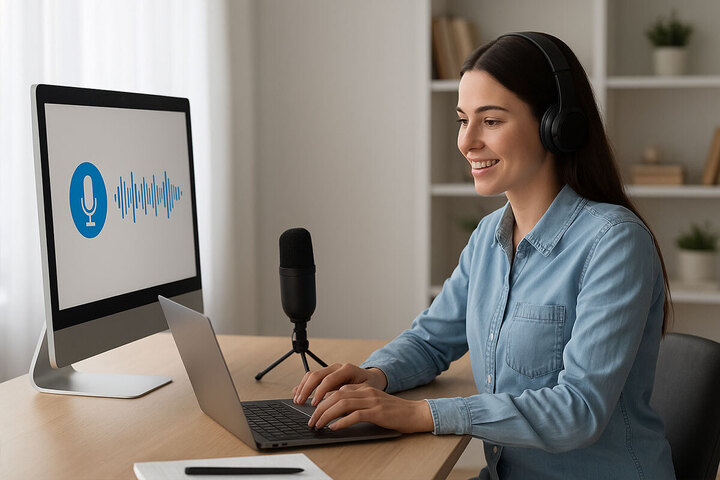
Adding narration to your WordPress blog can give your content a new life. For readers who prefer listening or users who have accessibility requirements, Murf’s AI Voice API offers an easy way.
At the outset, developers can invoke this API to render written blog posts into human‑sounding audio without the need for voice actors or recording. Whether you’re mass-automating voiceovers for hundreds of posts or just one every now and then, this tool seamlessly fits into your WordPress workflow.
Here’s how it works step by step.
Getting set up with Murf’s API
First things first: sign up on the Murf platform and ask for API access. That provides you with an API key and access to documentation, including code samples and SDKs for languages such as Python and JavaScript. The text-to-speech API provides support for more than 150 voices in 20+ languages. You can style tone, speed, pauses, and even define duration matching your narration. With these credentials in hand, you’re now ready to integrate.
Step by step: Convert a WordPress post to narration
- Complete and finalize your post content in WordPress.
- Take the post content as a plain text string from your back end or publishing pipeline.
- Invoke Murf’s text‑to‑speech API endpoint. You pass in the text, voice choice, language, speed, and optional styling suggestions. API responds with an audio file or stream.
- The API responds with either a downloadable audio file URL or the audio stream, depending on how your request is configured.
- Download the audio file.
- Upload that file to your WordPress Media Library. You can do this via the WordPress dashboard or programmatically using the WordPress Media REST API.
- Embed the uploaded audio in your blog post using the WordPress Audio block or a simple HTML <audio> tag.
This process can be automated using tools like Pipedream or custom scripts. For example, a webhook could trigger this entire flow each time you publish or update a post.
If you’re not using automation, you can generate narration manually within Murf Studio by pasting your blog text, selecting a voice, and downloading the audio, then uploading it to WordPress like any other media file.
How to integrate the player into WordPress?
There is also an HTML embed code available for projects created in its dashboard by Murf. You can copy that code and insert it into a Custom HTML block within the post editor. That provides you with an in‑post audio player that plays your voiceover on demand. In case you want an automated process, after recording the audio yourself, you can still wrap your own player around it.
Selecting voices and customization
Your personality is important for your blog. The API provides you with the ability to select voices in various accents, age ranges, and languages. Insert pauses or modify speed so the narration doesn’t sound dull or mechanical. Certain voices also offer emotional hints or campaign types for the narrative.
Technical integration ideas
- Utilise a plugin or custom code activated on publish of the post: get the post text, call the Murf API, save the audio, and add a shortcode or block.
- Or utilize an automation tool such as Pipedream, which integrates the Murf API and WordPress REST API. Chain a workflow: on publishing a post, send content to Murf, retrieve audio, upload to WP, and update post metadata or embed it.
- Or remain within the Murf studio: copy your blog content there by hand, generate the narration, and copy the embed code and paste it.
Dealing with updates or revisions
Each time you revise the post, remake the narration and overwrite the audio file or embed code. You could implement logic to examine revision versions and automatically update. This prevents synched audio and text mismatch.
Accessibility and UX considerations
After embedding the audio, include a line such as: “Prefer listening rather than reading? Click play above.” Make sure the player is minimal so it does not delay loading. Always give a transcript or alternative content to those users who require it. Providing both audio and clear headings enhances usability as well as accessibility.

Testing playback
Test how the audio functions on different devices: mobile, tablet, desktop. Check that it streams smoothly, the play/pause controls work, and the player doesn’t destroy your mobile layout. Varying browsers will treat HTML5 audio differently, so test across the board.
Scaling for many posts or sites
When dealing with multiple blogs or long content, automation is the key. With scripts or workflows, each new article can initiate audio generation automatically. Scheduling regeneration is possible if you notice a post being updated.
Final words
With Murf’s API, adding narration to your WordPress blog can be easy, scalable, and professional. No voice actor required, no audio studio necessary. You get another channel for content, drive engagement, and enable accessibility.
Are you ready to take your WP blog to the next level? Use Murf’s AI voice API and add natural-sounding narration to your blogs.
I am a committed and seasoned content creator with expertise in the realms of technology, marketing, and WordPress. My initial foray into the world of WordPress occurred during my time at WebFactory Ltd, and my involvement in this field continues to grow. Armed with a solid background in electrical engineering and IT, coupled with a fervor for making technology accessible to the masses, my goal is to connect intricate technical ideas with approachable and captivating content.
