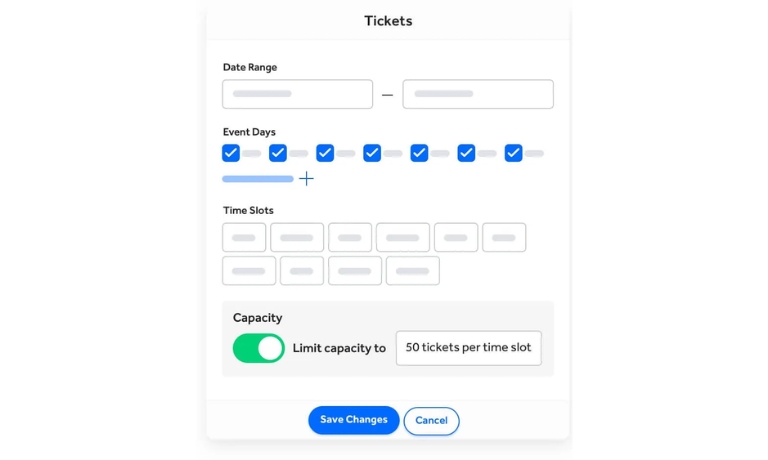
Adding a timer to your TicketSpice event page is a great way to create urgency, boost ticket sales, and engage attendees. A countdown timer can highlight the time remaining until the event begins, the end of a promotion, or the close of ticket sales. This guide will walk you through the steps to set up a timer and ensure it works seamlessly on your event page.
Why Use a Timer on Your TicketSpice Event Page?
Here are a few reasons why timers are effective for events:
- Create Urgency: Encourage users to act quickly by showing limited time for ticket purchases.
- Promote Sales: Timers tied to discounts or early bird specials can increase conversions.
- Enhance Engagement: A visually dynamic element like a countdown timer keeps your audience engaged.
Steps to Add a Timer to Your TicketSpice Event

Follow these steps to easily add a timer to your TicketSpice event:
Step 1: Log Into Your TicketSpice Account
- Visit the TicketSpice website and log in with your credentials.
- Navigate to the dashboard and select the event you want to edit.
Step 2: Access the Event Page Editor
- Click on the “Edit Event Page” option in the menu.
- This will open the page editor where you can customize the layout and elements.
Step 3: Locate the Timer Widget
- In the editor, find the “Add Element” or “Widgets” section.
- Search for the Countdown Timer option. If it’s not readily visible, use the search bar to locate it.
Step 4: Configure the Countdown Timer
- Drag and drop the timer widget to your desired location on the event page.
- Set the timer parameters:
- Event Date and Time: Enter the specific date and time for the countdown to end.
- Time Zone: Make sure to select the correct time zone for your event.
- Save the settings to apply the timer to your page.
Step 5: Customize the Timer Appearance
- Use the customization options to match the timer with your event’s branding:
- Colors: Adjust the timer’s colors to align with your event theme.
- Fonts: Select font styles that complement the rest of your event page.
- Size and Positioning: Ensure the timer is easily visible without being intrusive.
- Preview the changes to see how the timer looks on the event page.
Step 6: Save and Publish
- After configuring and customizing the timer, click “Save”.
- Publish the event page to make the timer visible to attendees.
Tips for Using Timers Effectively
Here are some pro tips to maximize the impact of your event timer:
- Highlight Promotions: Use timers to emphasize early bird offers or limited-time discounts.
- Place Timers Strategically: Position the timer at the top of the page for maximum visibility.
- Add Multiple Timers: If applicable, add a second timer for different milestones, such as ticket sales closing or event start time.
- Pair Timers with Marketing: Promote the timer on social media and email campaigns to create buzz.
- Test Before Publishing: Preview the timer on both desktop and mobile devices to ensure it displays correctly.
Troubleshooting Timer Issues
If you encounter issues with the timer, try these solutions:
- Timer Not Displaying: Ensure the timer widget is enabled and saved on the event page.
- Incorrect Countdown: Double-check the date, time, and time zone settings.
- Styling Problems: Adjust the timer’s size and color for better visibility, especially on mobile devices.
Conclusion
Adding a timer to your TicketSpice event page is a simple yet powerful way to boost ticket sales and engage your audience. By following these steps and tips, you can create a professional, functional countdown timer that enhances your event’s success.
Have questions or additional tips? Share them in the comments below! If you found this guide helpful, don’t forget to share it with other event organizers looking to maximize their TicketSpice experience.
I’ve been into SEO and blogging for over 7 years. I help websites show up higher on search engines. I really enjoy writing helpful guides, especially about gaming and tech stuff.
