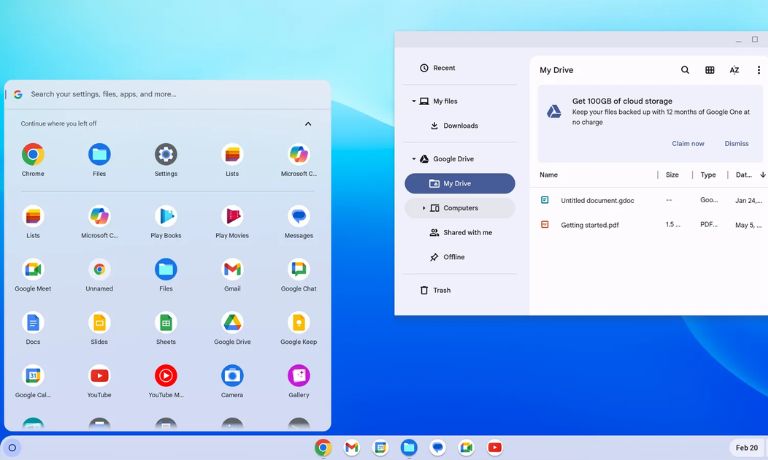
If you’ve experimented with Chrome OS Flex but want to return to Windows 11, this guide will help you through every step. Chrome OS Flex is a lightweight operating system, but many users prefer Windows 11 for its advanced features and compatibility. Let’s dive into the process of removing Chrome OS Flex and reinstalling Windows 11.
What is Chrome OS Flex?

Chrome OS Flex is a cloud-first operating system developed by Google. It’s designed to run efficiently on older devices, providing a simplified and fast experience. While Chrome OS Flex is ideal for basic tasks like browsing and document editing, it lacks support for many software applications available on Windows.
For users requiring gaming, professional software, or full desktop features, restoring Windows 11 becomes essential.
Preparing Your System for Restoration
Before diving into the process, ensure you’re ready to switch back to Windows 11. Here’s what you’ll need:
- A Compatible Device: Check if your device meets Windows 11 requirements, such as TPM 2.0 and Secure Boot.
- Bootable USB Drive: Use tools like Rufus or the Windows Media Creation Tool to create a Windows 11 installation drive.
- Backup Your Files: Save important files to an external drive or cloud storage to prevent data loss.
Quick Tip: Double-check your PC’s current boot settings in the BIOS/UEFI menu to ensure smooth installation later.
Step-by-Step Guide to Delete Chrome OS Flex
To delete Chrome OS Flex and prepare your device for Windows 11:
Step 1: Access the Recovery Mode
- Restart your system and press the designated key (Esc, F2, F12, or Del) to open the recovery menu.
- Insert the USB drive with the Windows 11 installer.
Step 2: Delete Partitions
- Select “Custom Installation” in the Windows setup.
- Locate Chrome OS Flex partitions (EXT4 format) and delete them.
Step 3: Format the Drive
- Format the unallocated space to NTFS for compatibility with Windows.
- Ensure no remnants of Chrome OS Flex remain.
Step 4: Resolve Boot Issues (If Any)
- If your device doesn’t boot from USB, revisit BIOS settings and enable/disable Secure Boot as required.
How to Install Windows 11
Once your drive is ready, installing Windows 11 is straightforward:
- Boot from USB: Restart and select the USB drive as the boot device.
- Follow the Setup Wizard: Complete the installation prompts, including choosing language and region.
- Partition Setup: Choose the NTFS-formatted drive for Windows installation.
- Wait for Completion: Your system will restart several times during the process.
Tip: Keep your system connected to the internet for automatic updates during installation.
Post-Installation Tasks
After installing Windows 11, there are a few important steps to complete:
- Restore Backed-Up Files: Transfer your saved data back to your device.
- Update Drivers: Use Windows Update or download drivers from your hardware manufacturer’s website.
- Install Essential Software: Get your preferred browser, antivirus, and productivity tools.
Troubleshooting Common Issues
If you encounter challenges during the process, here’s how to fix them:
Issue 1: “No Bootable Device Found”
- Ensure the USB drive is properly created as a bootable device.
- Recheck the BIOS boot order and prioritize USB.
Issue 2: Missing Drivers During Installation
- Download missing drivers from the manufacturer’s website and install them manually.
Issue 3: Windows Setup Fails to Detect Drive
- Use Diskpart in the Command Prompt (Shift + F10 during setup) to clean and reformat the disk.
Conclusion
Switching back from Chrome OS Flex to Windows 11 is manageable with the right steps and preparation. By carefully following this guide, you can restore Windows 11 and enjoy its versatility.
Have you successfully restored Windows 11? Share your experience in the comments below, and don’t forget to share this guide with others who might find it useful!
I’ve been into SEO and blogging for over 7 years. I help websites show up higher on search engines. I really enjoy writing helpful guides, especially about gaming and tech stuff.
