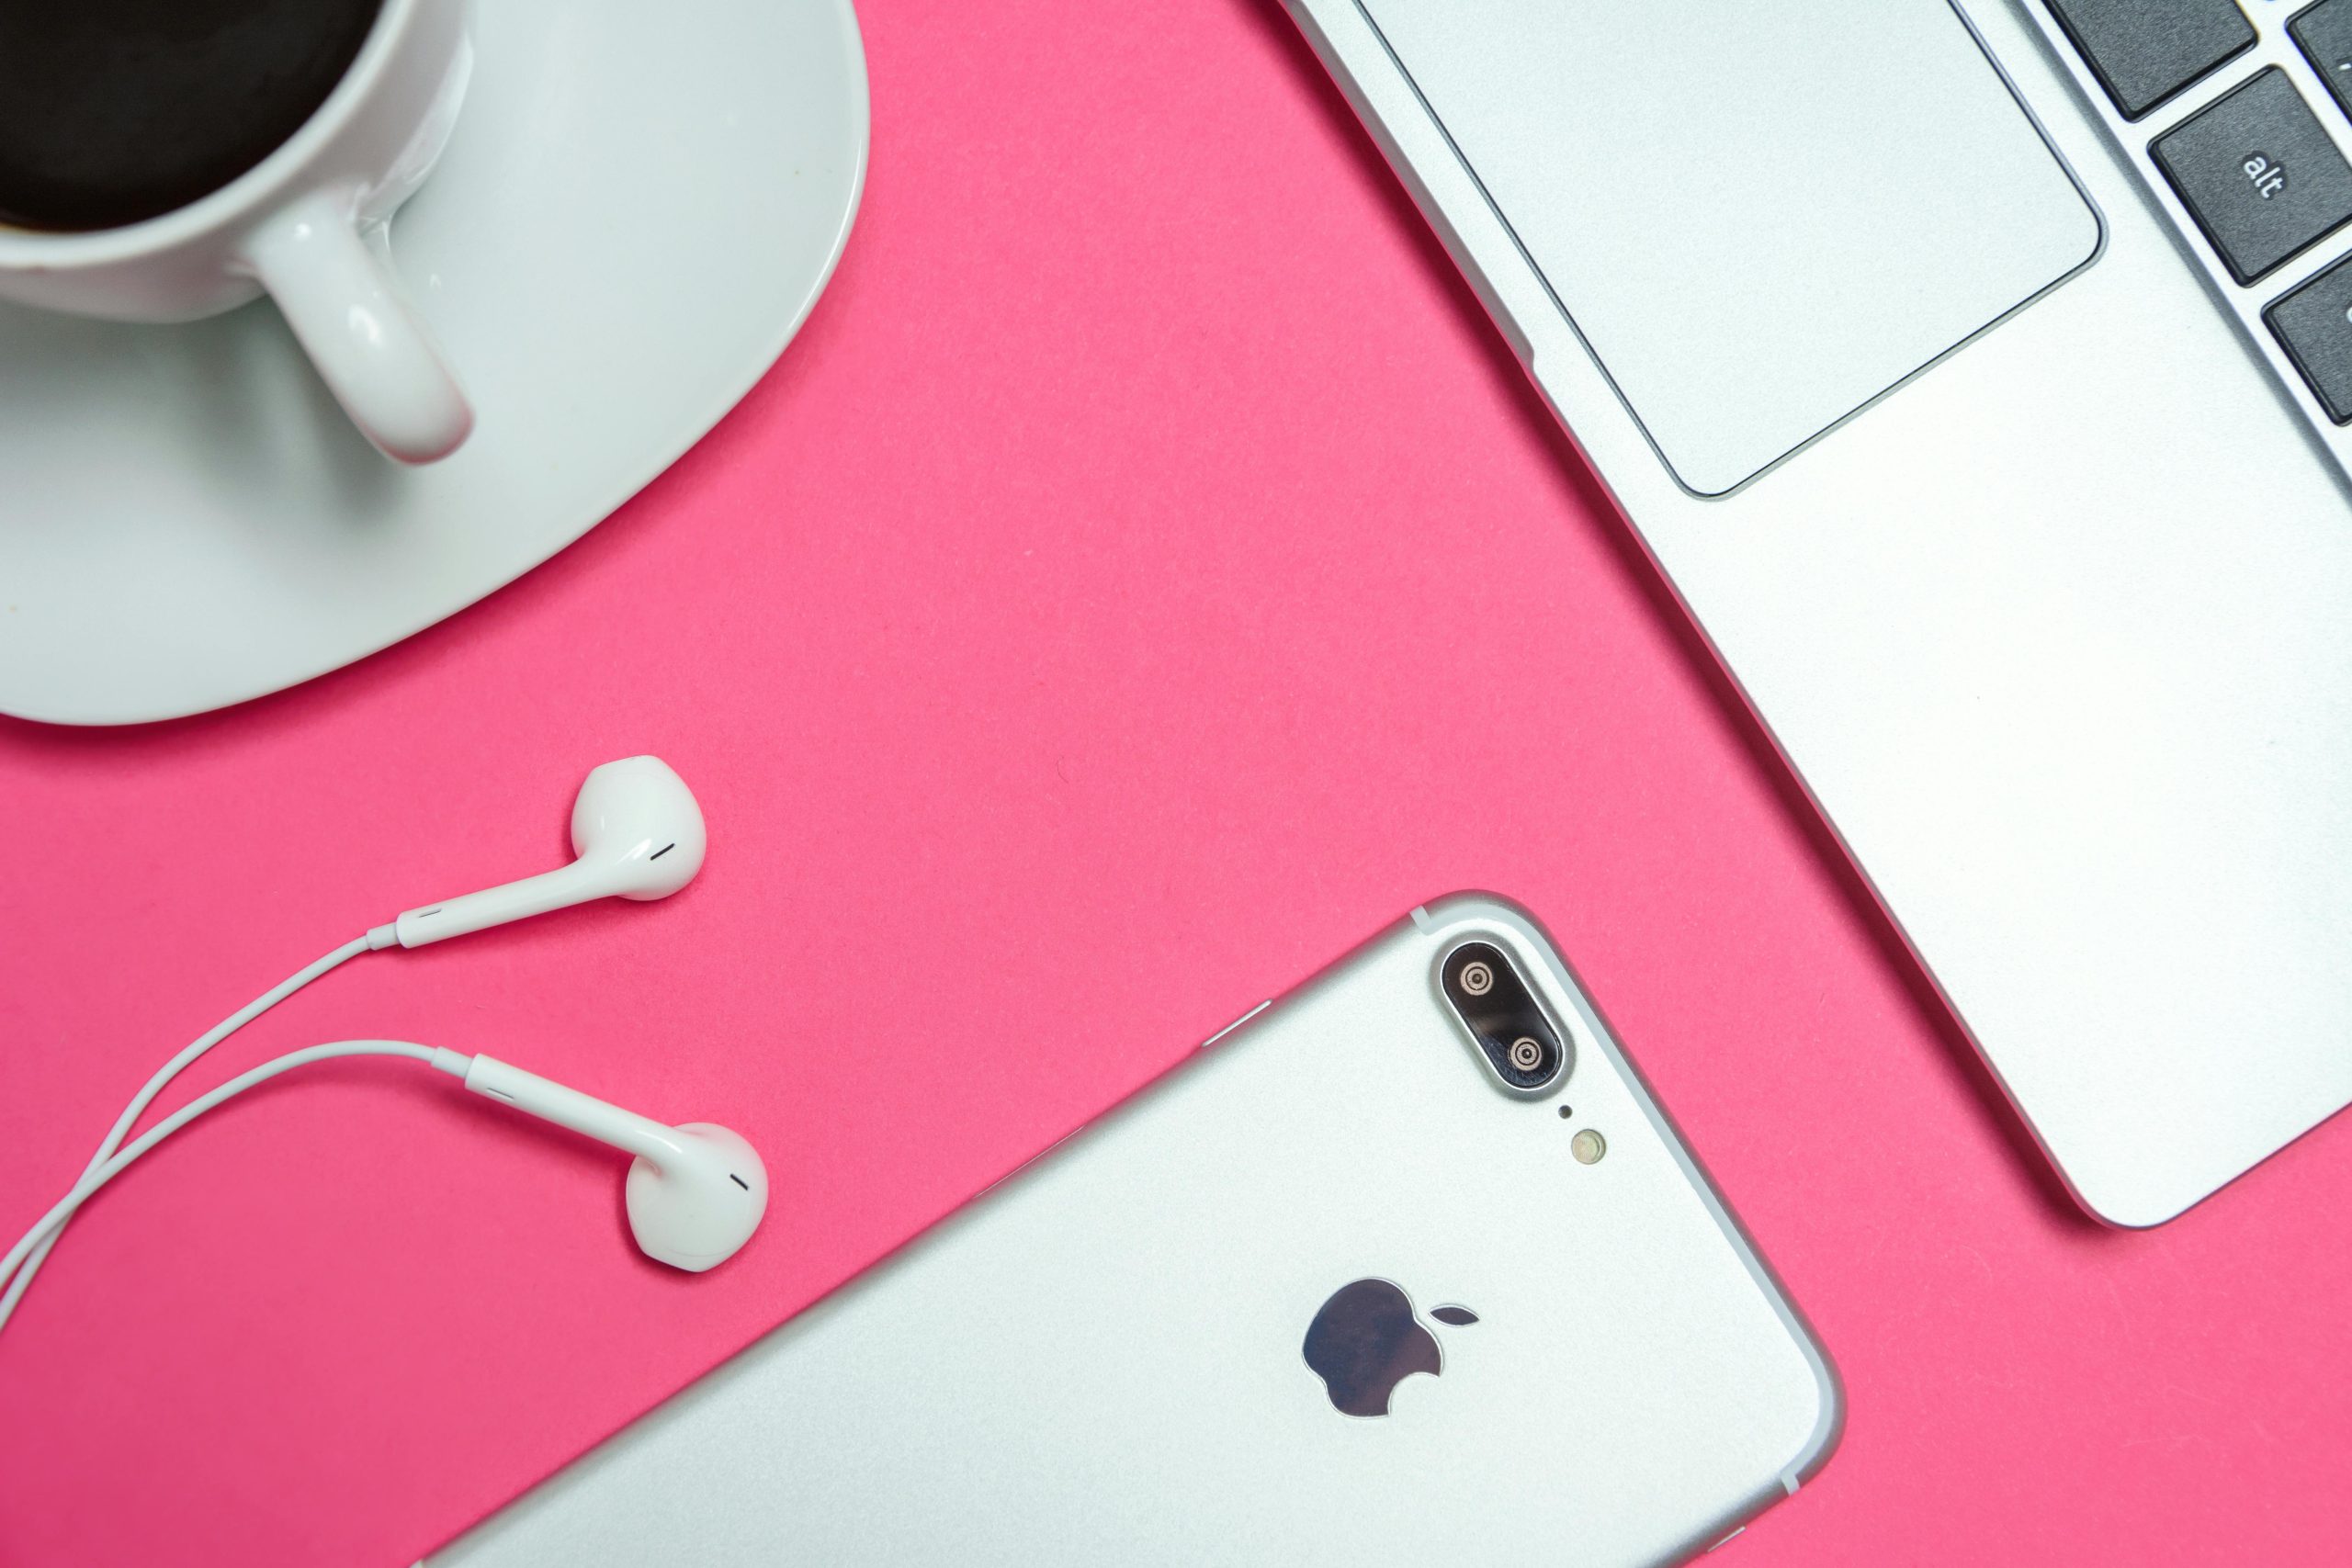
Syncing music files between your iPhone X and MacBook is a straightforward process, whether you want to transfer your favorite songs, playlists, or entire music libraries. Apple’s ecosystem is designed to make this easy, with tools like Finder, Apple Music, and iCloud ensuring seamless connectivity. This guide will help you sync your music efficiently using various methods.

Using Finder to Sync Music
With macOS Catalina and later, Finder has replaced iTunes for syncing files between devices. Here’s how to use Finder to sync music from your MacBook to your iPhone X:
Step 1: Connect Your iPhone to Your MacBook
Use a USB or USB-C cable to connect your iPhone X to your MacBook. Once connected, open Finder on your Mac. You should see your iPhone appear under the “Locations” section in the Finder sidebar.
Step 2: Select Your iPhone in Finder
Click on your iPhone’s name in the Finder sidebar. This will open a screen displaying various sync options, including music, videos, photos, and more.
Step 3: Go to the Music Tab
In the top menu of the Finder window, select the Music tab. You’ll see options to sync your entire music library or select specific playlists, artists, albums, or genres.
Step 4: Sync Your Music
Check the box labeled Sync music onto [your iPhone’s name]. You can choose to sync your entire music library or select specific songs and playlists. Once you’ve made your selections, click the Apply button in the bottom-right corner. Finder will begin transferring the music to your iPhone.
Step 5: Eject Your iPhone
After the sync is complete, click the eject button next to your iPhone’s name in Finder to safely disconnect your device. Your music is now available on your iPhone X.
Using Apple Music to Sync Songs
If you’re an Apple Music subscriber, syncing music between your iPhone X and MacBook can be done wirelessly through iCloud Music Library.
Step 1: Enable iCloud Music Library
On your MacBook, open the Music app and go to Preferences (Music > Preferences in the menu bar). Under the General tab, check the box next to Sync Library and click OK. Ensure you’re signed into the same Apple ID on both your MacBook and iPhone.
Step 2: Enable Sync on Your iPhone
On your iPhone X, go to Settings > Music and toggle on Sync Library. This will allow your music library to sync across all devices using iCloud.
Step 3: Wait for Sync to Complete
Once enabled, your music will automatically sync between your iPhone X and MacBook. Songs, playlists, and albums will appear on both devices as long as they’re connected to the internet.
Using AirDrop for Individual Songs
For smaller transfers or specific files, AirDrop is a quick and wireless option:
Step 1: Enable AirDrop
Ensure AirDrop is turned on for both your iPhone X and MacBook. On your iPhone, go to Control Center, tap AirDrop, and choose Everyone or Contacts Only. On your MacBook, open Finder and click Go > AirDrop in the menu bar.
Step 2: Transfer Music Files
Drag the music file from your MacBook into the AirDrop window and drop it onto your iPhone’s icon. Accept the transfer on your iPhone. The music file will be saved to your Files app or a compatible music app.
Syncing music between your iPhone X and MacBook is simple and flexible, with multiple methods to choose from. Whether you prefer the structured approach of Finder, the convenience of Apple Music, or the speed of AirDrop, you can easily transfer your favorite tunes between devices. By following the steps above, you’ll ensure your music library is always in sync and ready to enjoy, no matter where you are.
I’m Antonia, a copywriter with over five years of experience in the industry. I find joy in exploring a wide array of topics through my writing. It’s my passion to create engaging and compelling content that resonates with readers.
