The Riot Client is the main launcher used to access games by Riot Games, including popular titles like Valorant, League of Legends, and Teamfight Tactics. While it’s lightweight and runs in the background, some users may want to remove it due to errors, switching accounts, or simply freeing up disk space.
This guide explains how to completely uninstall Riot Client from Windows 11 or Windows 10, including removing leftover files and optional registry cleanup.
Will Uninstalling Riot Client Delete Your Games?

Uninstalling Riot Client removes the launcher, not the actual games by default. However, Riot games are tightly connected to the launcher, so uninstalling it may prevent the games from working properly until it’s reinstalled.
To fully remove Riot games like Valorant, you’ll also need to delete their folders manually after uninstalling the client.
Step 1: Close Riot Client and Background Processes
Before uninstalling, close Riot Client completely — even from the background.
To do this:
- Press
Ctrl + Shift + Escto open Task Manager - Look for any of the following:
- RiotClientServices.exe
- RiotClientUx.exe
- RiotClientCrashHandler.exe
- Right-click each and choose End Task
This avoids uninstall errors saying the client is still running.
Step 2: Uninstall Riot Client via Windows Settings
Once the app is closed, uninstall it through your system settings.
For Windows 11:
- Open Settings
- Go to Apps > Installed Apps
- Search for Riot Client
- Click the three-dot icon and choose Uninstall
- Confirm when prompted
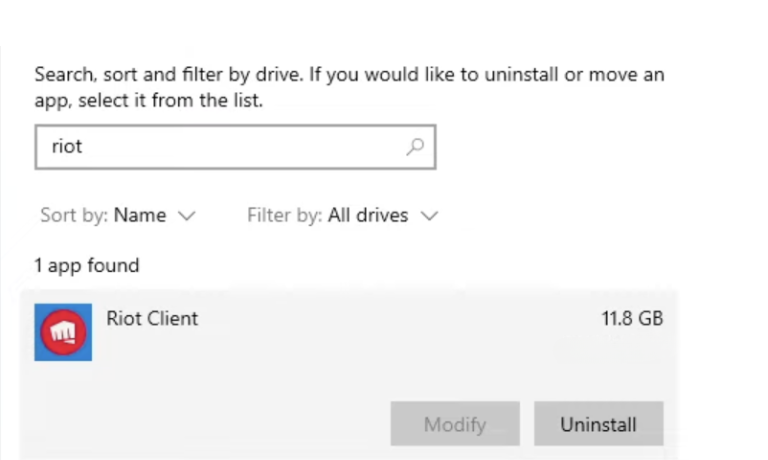
For Windows 10:
- Go to Settings > Apps > Apps & Features
- Find Riot Client in the list
- Click it, then click Uninstall
Wait for the process to finish.
Step 3: Delete Leftover Riot Files and Folders
Even after uninstalling, Riot leaves behind folders that you can safely delete.
Delete these folders manually:
C:\Program Files\Riot GamesC:\Users\[YourUsername]\AppData\Local\Riot GamesC:\Users\[YourUsername]\AppData\Roaming\Riot Games(if it exists)
To access the AppData folder, press Windows + R, type %appdata%, and press Enter. Then go back one folder to open Local.
After deleting, empty the Recycle Bin to free up space.
Optional: Remove Riot Entries from Windows Registry
This step is only for advanced users. Deleting the wrong keys in the Registry can harm your system. Always create a backup first.
Steps:
- Press
Windows + R, typeregedit, and press Enter - In the Registry Editor, press
Ctrl + F - Search for
Riot Games - Right-click any related key and click Delete (only if sure)
Repeat the search with F3 to find more entries.
After Uninstalling: Reinstall or Switch Accounts Easily
If you’re reinstalling to fix bugs or switch accounts, you can now download the Riot Client again from the official Riot Games website. Reinstalling won’t restore previous bugs if old files were removed correctly.
If you want to reinstall only certain games, Riot will prompt you during the new setup.
By following these steps, you can cleanly uninstall the Riot Client from Windows 10 or 11 and remove all leftover traces. Let us know if this guide worked for you or if you faced any issues.
I’ve been into SEO and blogging for over 7 years. I help websites show up higher on search engines. I really enjoy writing helpful guides, especially about gaming and tech stuff.
