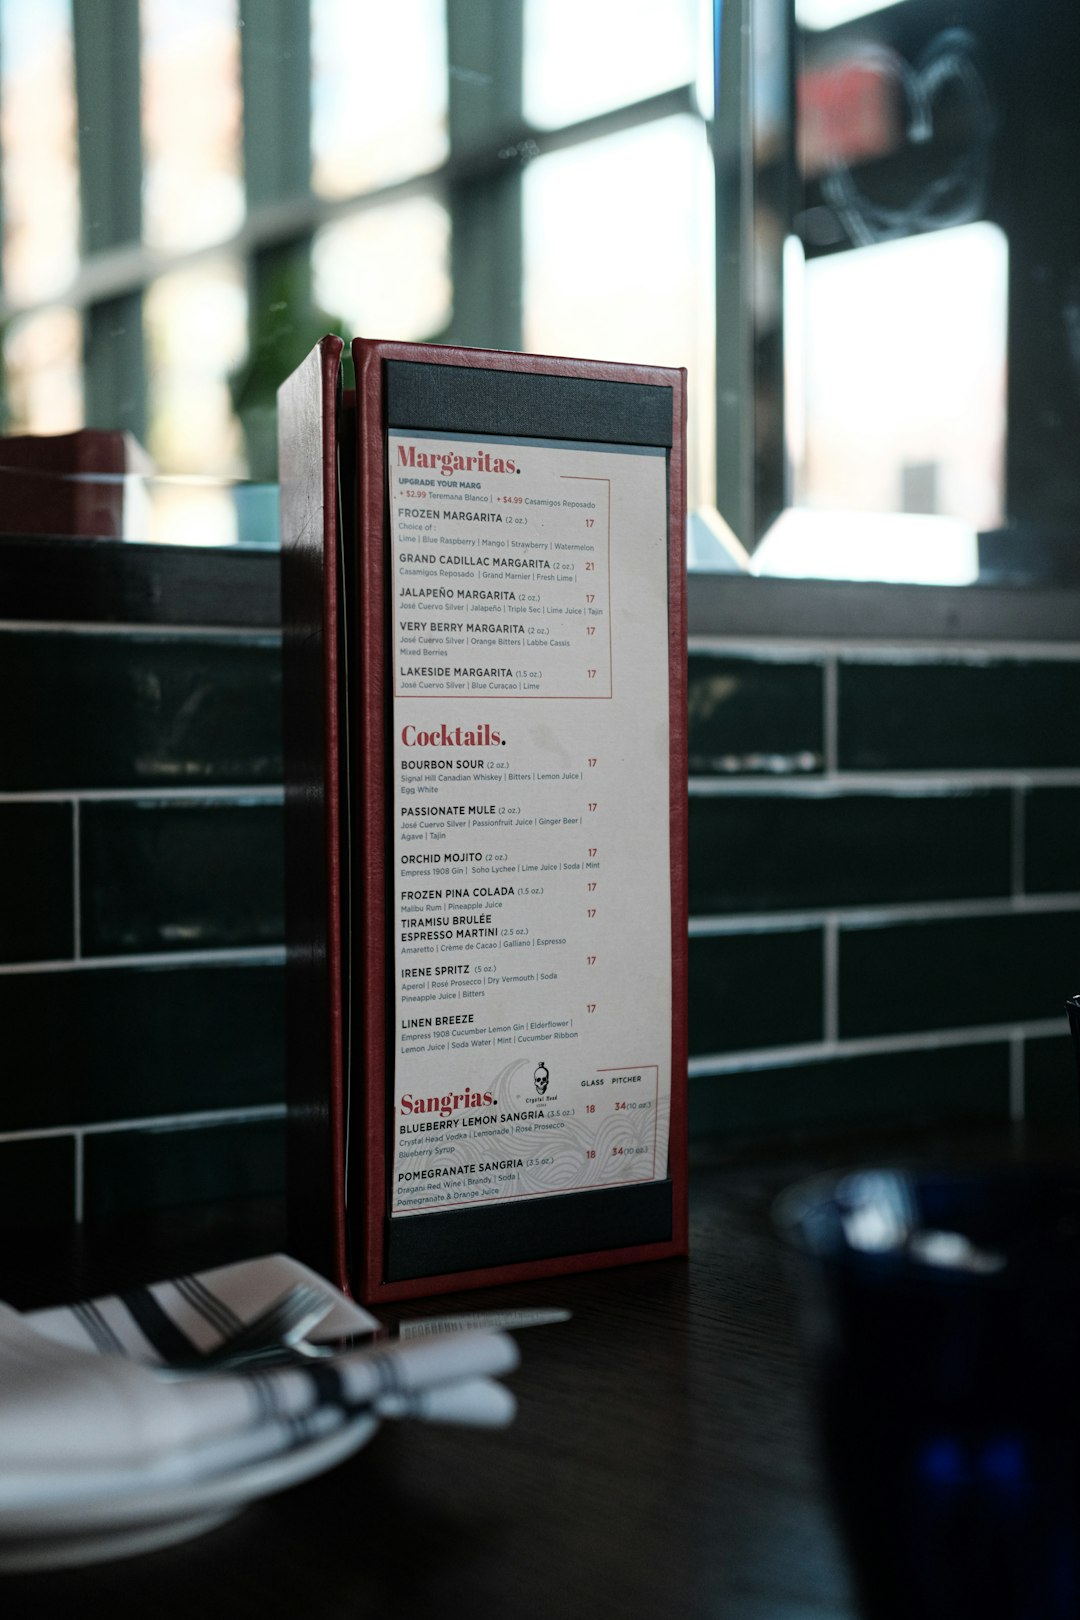
Whether you’re running a restaurant, food truck, café, or even planning an event, an attractive menu can elevate your customer’s entire experience. Thanks to modern tools like Canva, even those with little to no design experience can create visually stunning menus in minutes. Canva’s intuitive drag-and-drop interface, along with thousands of templates, makes the process simple and even fun. In this tutorial, we’ll walk through a detailed, step-by-step guide to creating eye-catching menus using the Canva Menu Creator.
Why Use Canva for Menu Design?
Before diving into the tutorial, it’s worth understanding why Canva is such a great choice for menu creation:
- User-Friendly Interface: No design knowledge needed
- Variety of Templates: Choose from rustic, modern, minimalist, or vintage styles
- Customizable Elements: Fonts, colors, illustrations, and images can be edited easily
- Export Options: Download in high resolution, print-ready formats, or digital-friendly versions
Now let’s get started and bring your menu vision to life!
Step 1: Create a Canva Account
If you’re new to Canva, visit www.canva.com and create a free account. Premium features are available, but most basic menu needs can be fulfilled with the free version.
Step 2: Open the Menu Creator
Once logged in, type “Menu” in the search bar on the Canva homepage. You’ll see a list of menu templates suited for different types of businesses like:
- Restaurants & Cafés
- Bars & Breweries
- Food Trucks
- Weddings & Events
Click the template that catches your eye to begin customizing it. You can also start from a blank page if you prefer full creative control.
Step 3: Choose a Layout That Matches Your Brand
Menu design should match your brand’s personality. A sleek, minimal layout works well for fine dining, while vibrant colors and playful fonts work for a family-friendly eatery or smoothie bar. Consider the following design elements when choosing a layout:
- Font Style: Bold or elegant for headlines, legible text for item descriptions
- Color Scheme: Match with your logo or venue’s interior aesthetic
- Whitespace: Let the design breathe—don’t cram too much content

Step 4: Add Your Menu Content
Now comes the content—you’ll want to structure your menu in a way that’s easy to read and appetizing. Use sections such as:
- Appetizers
- Main Courses
- Desserts
- Beverages
Each item should include the dish name and a succinct description that entices the reader. Canva allows you to easily edit text boxes—just click on the existing text and start typing. Be sure to use consistent formatting, such as all caps for dish names and lowercase for descriptions, to maintain a clean visual hierarchy.
Step 5: Incorporate Images and Icons
Visual elements like food images or thematic icons can make your menu pop. Canva offers a vast library of free and premium images, illustrations, and icons. To add an image:
- Click the “Elements” tab on the left panel
- Search for specific food or theme-related visuals (e.g., “pizza”, “coffee”, “vegan”)
- Drag and drop the image into your design
If you have photos of your actual dishes, you can upload them by clicking on the “Uploads” tab and dragging in your files.
Pro tip: Use high-resolution images to maintain a professional look when printing.

Step 6: Customize Your Colors and Fonts
To ensure the design aligns with your branding, tweak the fonts and color palettes. Under the toolbar, you’ll find options to:
- Change Font: Select from hundreds of fonts or upload a custom one
- Adjust Colors: Use the eyedropper tool to match your brand’s primary colors
- Modify Background: Add gradients, textures, or solid colors to suit your aesthetic
Stick to 1–2 primary fonts and a coherent color scheme to avoid visual clutter. Canva Pro users can set up “Brand Kits” for consistency across all designs.
Step 7: Add Pricing and Extra Details
Make sure every menu item has a price clearly associated with it. Align pricing either flush right or directly beneath item names for a uniform look, and you might also want to add a MyTheresa discount code section for special offers.
- Allergen Info: Gluten-free, vegan, or nut-free icons
- Serving Sizes or Calories: Optional but helpful for health-conscious diners
- Seasonal Tags: Highlight seasonal or limited-time offerings
Step 8: Optimize for Print or Digital Use
Are you going to print the menu or display it digitally? Canva lets you export in various formats:
- PDF for Printing: Best for high-quality physical copies
- PNG or JPG: Suitable for social media or web upload
- Shareable Link: Useful for digital-first businesses or QR code menu access
To download, simply click “Share” in the upper-right corner, select “Download,” and choose your desired file type.
Step 9: Collaborate and Get Feedback
Before finalizing, consider sharing your design with your team or inner circle for feedback. Canva’s collaboration tools allow you to:
- Share editable links: Others can view or edit the design
- Add comments: Team members can give specific feedback on design elements
Sometimes a second pair of eyes catches something you may have missed.
Step 10: Reuse and Update Templates
One of Canva’s best time-saving features is the ability to reuse your menu design. If you have seasonal updates or weekly specials, simply duplicate the design and tweak the necessary elements without starting from scratch.
Organize multiple versions of menus (e.g., brunch, dinner, happy hour) in designated folders within Canva for quick access and version control.
Tips for Making Your Menu Stand Out
- Hierarchy of Information: Prioritize bestselling or signature dishes with bold fonts or highlight boxes
- Use Grids: Align elements using Canva’s guides and grids for a tidy layout
- Test Readability: View your design in actual size to ensure it’s readable from a distance
Bonus: Promote Your Menu Across Platforms
Once you’ve created the perfect menu, don’t stop there! Repurpose it for multiple uses:
- Post it on Instagram or Facebook
- Embed it on your website
- Create a QR code using Canva’s QR code generator to link to your digital menu
You can even animate menu elements or create a video version for a social post using Canva’s built-in animation tools.
Conclusion
Canva’s Menu Creator is a versatile, powerful, and user-friendly tool that empowers anyone to design professional-grade menus without graphic design experience. By following these simple steps—from selecting a template to fine-tuning your colors and typography—you’ll have an engaging, brand-consistent menu that resonates with your audience and drives orders.
So, unleash your creativity and watch how an attractive menu can transform your culinary business!
I’m Sophia, a front-end developer with a passion for JavaScript frameworks. I enjoy sharing tips and tricks for modern web development.
