How to Add a New License Key
By clicking the blue “Add New License”, you will be able to create a new license that you can use to activate the plugin on new sites.
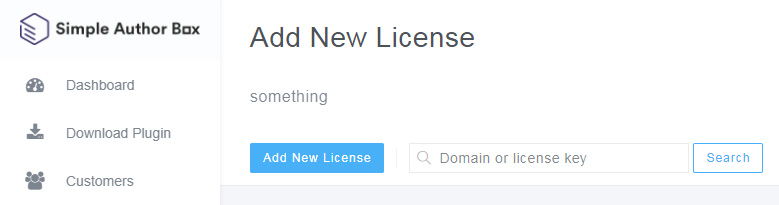
As soon as you click, a new settings page will appear, holding all the important options regarding licenses.
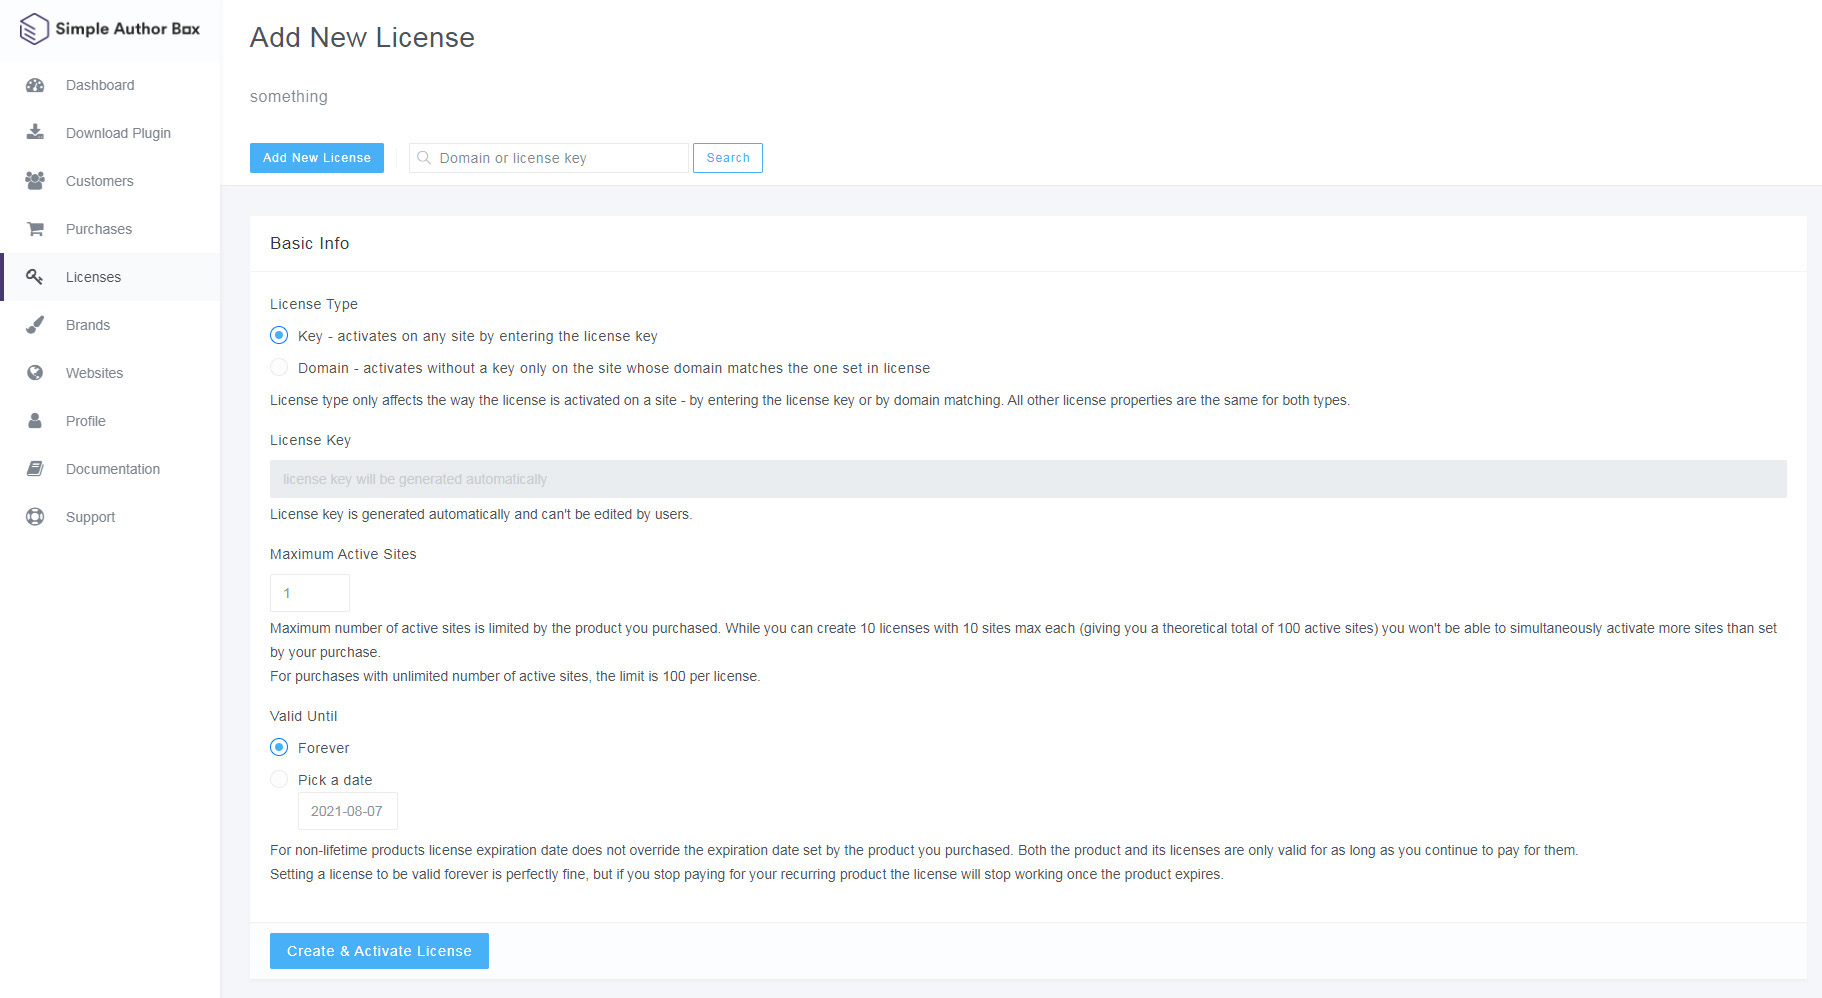
How to Add a New License Key
-
- Check the “Key” License Type.
- If you want to use the key on more than one site, select the number in “Maximum Active Sites”.
- Select how long the license will be valid for.
- On the right-hand side of the screen, write a note to describe the licenses (optional).
- Add or remove any extra features that will be available for sites activated with this license.
- Choose a rebranding package (optional).
- Click on the “Create and Activate License” button at the bottom of the page.
After you have created a license, you can go on to activate the Simple Author Box plugin.
Maximum Active Sites
The option is available only when the License Type: Key is selected.
Enter the maximum number of active sites that can use this license key. While you can create 10 licenses with 10 sites max each (giving you a theoretical total of 100 active sites), you won’t be able to simultaneously activate more sites than set by your purchase.
For purchases with an unlimited number of active sites, the limit is 100 per license. For the next batch, you will have to create a new license and assign its max number of sites one more time.
Valid Until
Choose how long the currently edited license will be valid:
- Forever – for lifetime products, this option makes the current license valid forever as well. For non-lifetime products, this option makes the current license valid until the date set by the product you purchase. For example, if you have subscribed to a product for only one year, setting this option to forever makes this license valid for that one year as well. In case you continue the subscription, the license will be automatically prolonged to the new date set by the date of purchase/subscription.
- Pick a Date – Click on the date to open a calendar. Simply choose a date until you want the license to be valid. For example, if you want a specific license to be valid only for two weeks on the client’s website, you can set the date and forget about it.
Additional Info
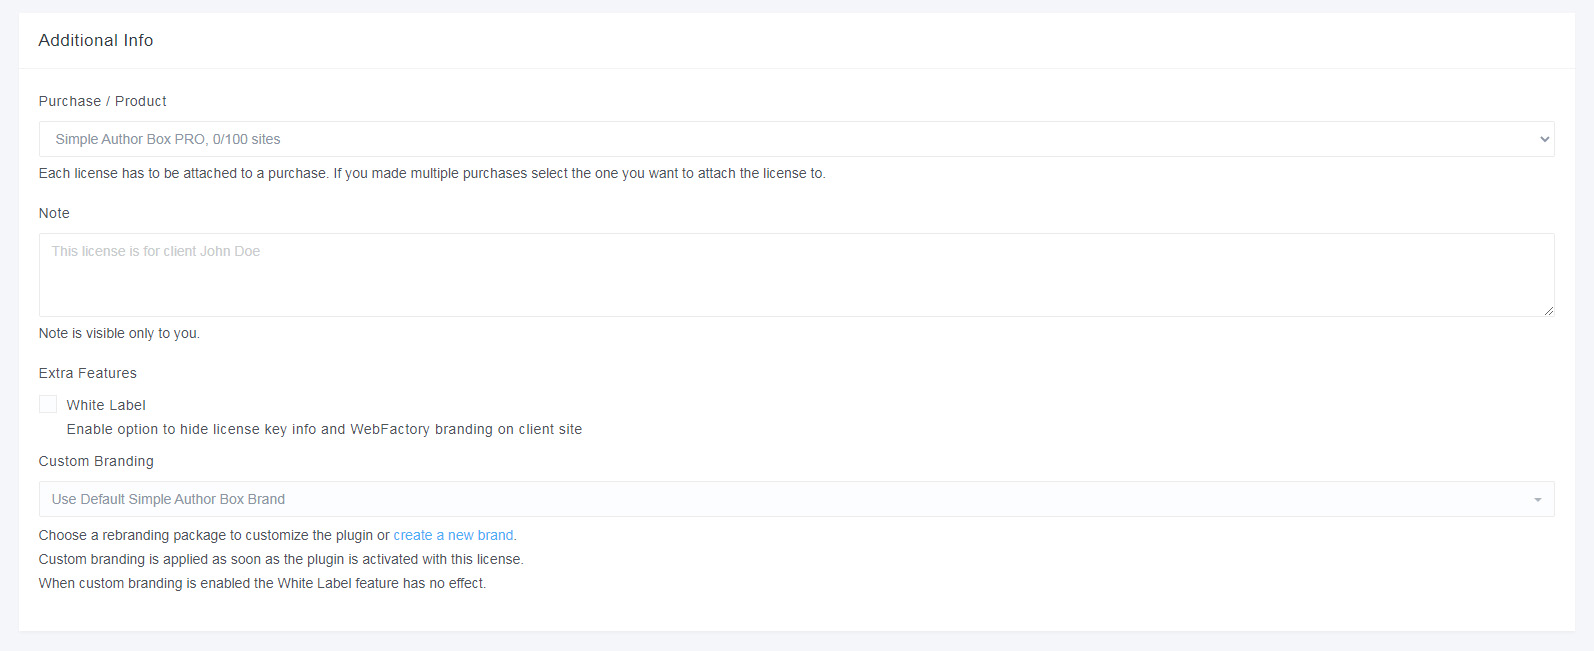
- Purchase / Product – if you have purchased more than one product from WebFactory, you will be able to select the product for which you want to write down additional notes.
- Note – write a note to remind you about the details of this specific license. The note is visible only to you, so feel free to write anything you like.
Extra Features
- White Label – check the box to hide the license key info and WebFactory branding. All sites using this key will not be able to see the key. Also, those websites won’t show any traces of WebFactory.
Custom Branding
When you create custom brands, you will be able to select one that will become active on all sites activated with this license. Custom branding is applied as soon as the plugin is activated with this license.
When custom branding is enabled, the White Label feature has no effect.
Keyless Activation (Domain-based key)
How to Add a New License Key
-
- Check the “Domain” License Type.
- Select how long the license will be valid for.
- On the right-hand side of the screen, write a note to describe the licenses (optional).
- Add or remove any extra features that will be available for sites activated with this license.
- Choose a rebranding package (optional).
- Click on the “Create and Activate License” button at the bottom of the page.
After you have created a license, you can go on to activate the Simple Author Box plugin.
How to Delete a License?
-
- Go to https://dashboard.wpauthorbox.com/ and log into your account.
- From the left-hand side of the screen, select “Licenses”.
- Find the licenses you would like to remove.
- In the same row, find & click the trashcan icon.
- Confirm you want to delete the license.
How to Block a Site?
-
- Go to https://dashboard.wpauthorbox.com/ and log in to your account.
- Open the “Sites” page.
- Locate the site you wish to block.
- Click on the “Block” button from the left side of the screen.
- Confirm that you want to block the site.
By blocking the site, the license will be immediately returned to the available pool of licenses and the site will be deactivated next time it checks the license.
