WordPress remains one of the most popular content management systems. The process can be exciting and challenging for developers who want to perform WordPress tasks on their MacBooks. However, this article will be your ultimate guide for setting up your Mac as a developer.
Whether a professional or a newcomer, this guide will equip you with the tools. These will transform your MacBook into a WordPress development playground. We will discuss configuring development environments to choosing the right software tools. Read on to learn how to optimize your WordPress experience through Mac.

Preparing Your MacBook for WordPress
Before diving into WordPress, as you might be excited to do so, ensuring your system is ready and optimized is essential. The first thing to check is hardware requirements. For instance, ensure your MacBook has enough disk space and a stable internet connection. Then, clean Mac utilizing CleanMyMac X to eliminate any redundant and unnecessary files to free up ample space. This is a crucial initial step, as it sets up your MacBook for long-term success by cleaning it thoroughly.
However, your initialization process continues beyond there. You must constantly check for backups to ensure security, compatibility, and excellent performance. Additionally, for efficient power management during development, it’s helpful to enable macOS show battery percentage option on your MacBook. Hence, consider enabling automatic updates on your device. This allows you to stay current with security patches and software improvements. Another critical step is backing up your data in case of unexpected errors or loss. You can use Time Machine, the built-in solution on Mac, to later restore MacBook to previous versions if needed.
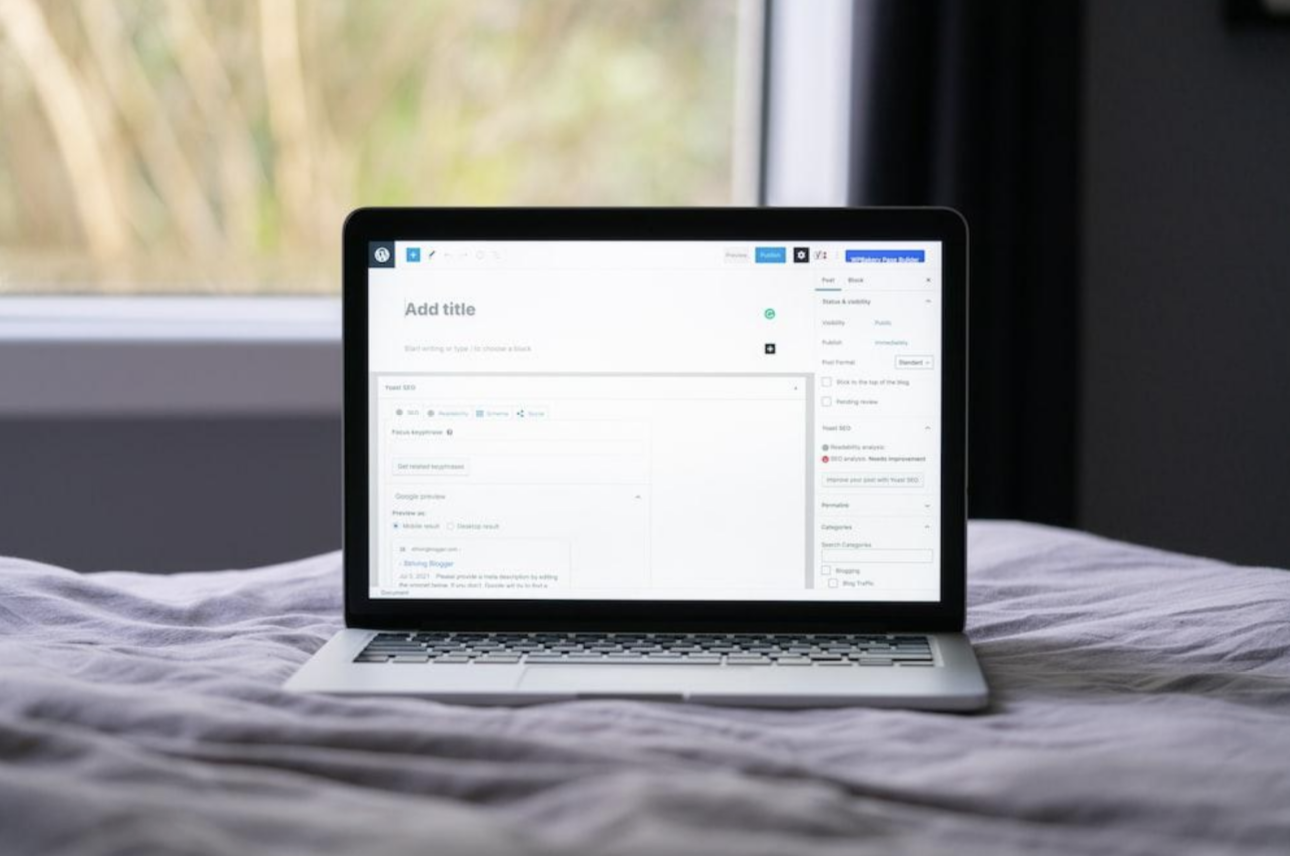
Setting Up a WordPress Development Environment
This section will explore setting up your WordPress development environment. This will include discussing local and remote development and how to implement each.
Before you create a WordPress website, it’s essential to decide on the type of development environment you’ll use.
Local development vs. remote development
Which WordPress development environment should you choose? Here is a closer look at the pros and cons of each option.
- Local development
- Advantages: It is convenient for testing and experimentation. It does not require an internet connection.
- Disadvantages: It might not accurately replicate a live server environment. This can lead to issues only visible when the website is deployed to a live server.
- Remove development
- Advantages: They mirror the conditions of a live website. They are ideal for testing and ensuring the site functions realistically.
- Disadvantages: It requires a stable internet connection and can be slower than local development.
Installing a local development server
MAMP and XAMPP are famous for setting up a local WordPress development environment on Mac. First, head to the MAMP or XAMPP websites and download the software. This will install the necessary web server (Apache), database server (MySQL), and scripting language (PHP). Once installed, you can configure the settings, including document root and PHP settings. Once you start the server and access the local server through a web browser, you can create WordPress installations locally.
Configuring a remote development server
Setting up remote web development on Mac allows you to work on projects hosted on a different server. To configure it using SSH, here is what you should do:
- You will typically receive SSH credentials from your hosting provider.
- Open Terminal or your preferred SSH client. Use the command “ssh username@remote_server_ip” to connect to the remote server. Replace ‘username’ with your SSH username and ‘remote_server_ip’ with the server’s IP address.
- Navigate to the directory where your WordPress project is hosted.
- Install any development tools you need, such as Git, PHP, and MySQL.
Essential Software Tools for WordPress Development
WordPress for Mac should also include a vast arsenal of tools to help you achieve your goals. This section will explore the tools required to remain productive and efficient.
Text editors and integrated development environments (IDEs)
Text editors are lightweight and versatile tools for coding themes, plugins, and customizations. Some of the popular ones include Sublime Text.
As for IDE, it stands for Integrated Development Environment. IDEs provide an environment with features like coding completion and debugging. The most popular option among coders is Visual Studio Code (VSCode). It is a free, open-source IDE with an extensive library of extensions for WordPress.
Version control systems and package managers
Your macOS setup process should also include a version control system. Git, a distributed control system version, allows you to track changes and easily roll back to previous versions. As for package managers, they simplify the installation and management of software packages and dependencies. Homebrew is a popular manager for macOS.
WordPress Installation and Configuration
Now, let us dive into Mac install WordPress. Installing it and configuring it is a pivotal step in your development journey. This section will discuss the critical aspects of getting your WordPress up and running by setting up a Mac.
Downloading and installing WordPress
To install WordPress on Mac, simply follow these steps:
- Download it from the WordPress website (wordpress.org).
- Ensure your local or remote development server is running. If you use a local development server like MAMP or XAMPP, place the unzipped WordPress files in the web server’s document root directory.
- Open a web browser and navigate to the URL where you’ve placed the WordPress files .
- Create a database by providing a name, username, and password. These credentials will be used in the wp-config.php file.
- Follow the on-screen instructions to complete the installation. You’ll be asked to provide a site title, admin username, password, and email address.
Creating a database
Once you install WordPress Mac, you will likely want to create a database. For local development, you can create a database using a web-based interface provided by the tool. Log in to the tool’s control panel, navigate to the database section, and create a new one. As for remote development, you can create one using a web-based control panel provided by your hosting provider.
Conclusion
This guide helps you with setting up your Mac for WordPress development. Preparation, including system checks and updates, sets the foundation for success. We also discussed the difference between a local and remote environment. It allows you to choose one according to your needs and goals.
Mastering WordPress installation and configuration is crucial. With this knowledge and toolset, your MacBook is ready for productive WordPress development. This will allow you to unleash your creativity in the digital realm.
